FOSS Weekly #23.31: EasyOS Distro, New GNOME Features, Compiz and More
GNOME’s proposed new features, MX Linux and ZorinOS releases, Compiz demystified and other regular elements.
GNOME’s proposed new features, MX Linux and ZorinOS releases, Compiz demystified and other regular elements.
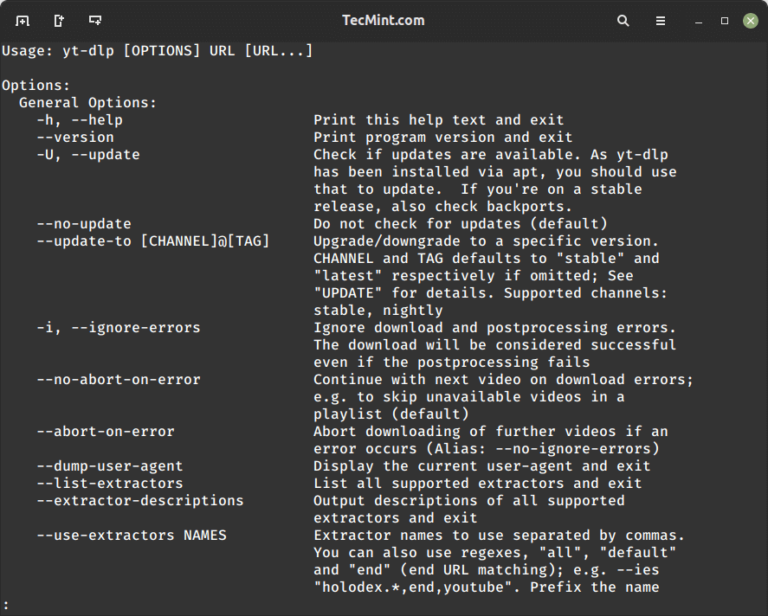
The post YTP-DL: The Easiest Way to Download Songs from YouTube Videos first appeared on Tecmint: Linux Howtos, Tutorials & Guides .
We all love listening to music whether it’s in the gym, at work, or outside, music is part of our life. Everyone has their own
The post YTP-DL: The Easiest Way to Download Songs from YouTube Videos first appeared on Tecmint: Linux Howtos, Tutorials & Guides.
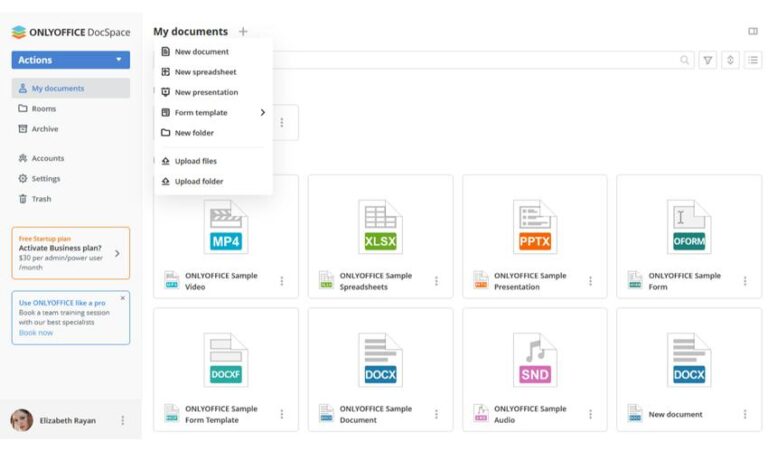

Nowadays, online document collaboration is a must for everyone. You definitely need to co-edit numerous docs with your teammates as well as work on office files with various external users, almost everyday.
Keeping this in mind, the open-source project ONLYOFFICE released the DocSpace solution which allows connecting people and files and levels up document collaboration. Let’s discover its features and installation options.
ONLYOFFICE DocSpace is intended to improve collaboration on documents with various people you need to interact, for example, your colleagues, teammates, customers, partners, contractors, sponsors, etc.
The platform comes with integrated online viewers and editors allowing you to work with files of multiple formats, including text docs, digital forms, sheets, presentations, PDFs, e-books, and multimedia.
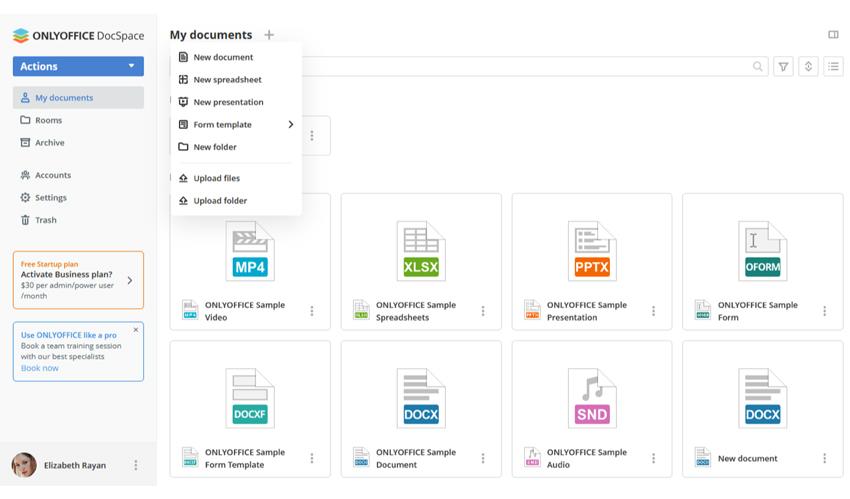
Rooms
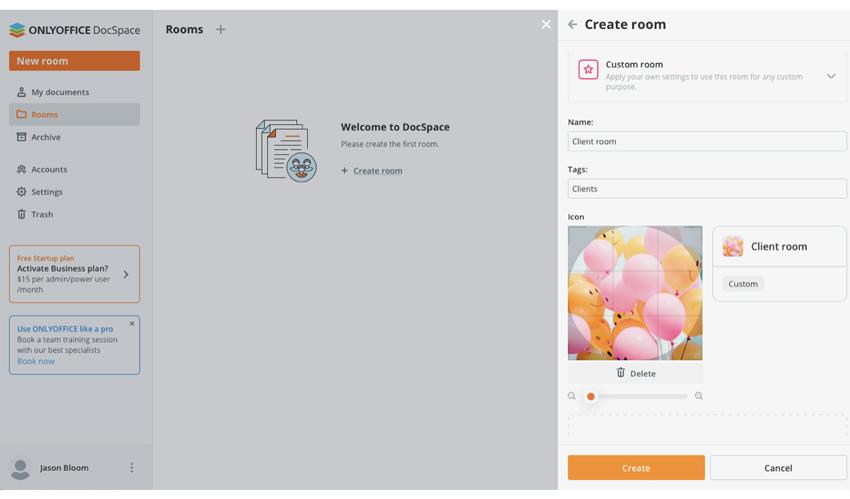
ONLYOFFICE DocSpace provides a room-based environment which allows organizing a clear file structure depending on your needs or project goals. DocSpace rooms are group spaces with the pre-set access level to ensure quick file sharing and avoid unnecessary repeated actions.
Currently, two types of rooms are available:
User roles
Flexible access permissions allow you to fine-tune the access to the whole space or separate rooms. Available actions with files in a room depend on the given role.
The post 10 Free Linux Books That Will Make You a Linux Master first appeared on Tecmint: Linux Howtos, Tutorials & Guides .
If you’re aiming to elevate your Linux learning process to an advanced administrative and expert level, we have meticulously curated a collection of 10 exceptional
The post 10 Free Linux Books That Will Make You a Linux Master first appeared on Tecmint: Linux Howtos, Tutorials & Guides.

In the penultimate chapter of the Bash Basics series, learn about for, while and until loops.
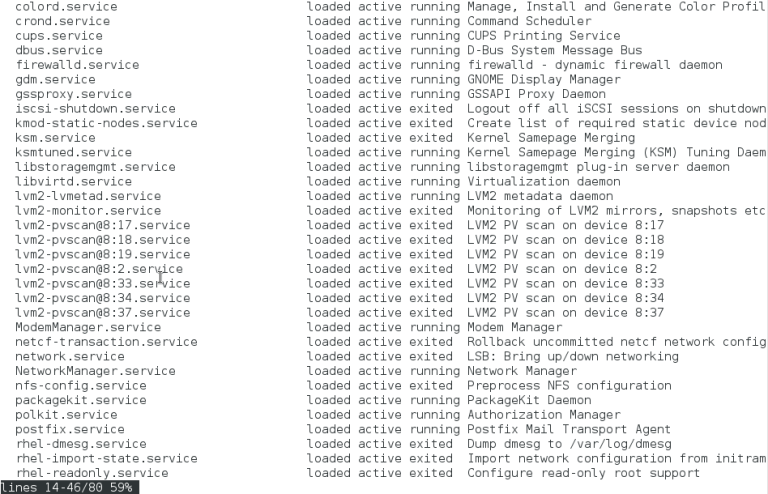
The post How to Create and Run New Service Units in Systemd Using Shell Script first appeared on Tecmint: Linux Howtos, Tutorials & Guides .
A few days ago, I came across a Centos 8 32-bit distro and I felt the desire to test it on an old 32-bit machine.
The post How to Create and Run New Service Units in Systemd Using Shell Script first appeared on Tecmint: Linux Howtos, Tutorials & Guides.
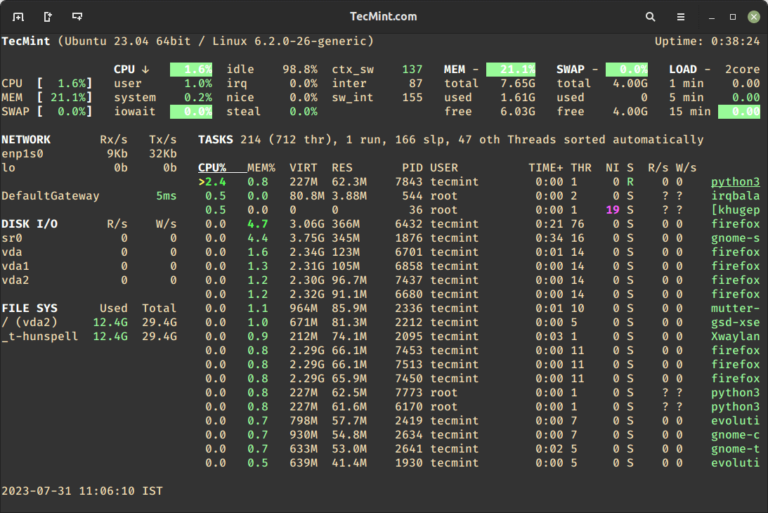
The post Glances – An Advanced Real Time System Monitoring Tool for Linux first appeared on Tecmint: Linux Howtos, Tutorials & Guides .
Earlier, we’ve written about many Linux System Monitor Tools that can be used to monitor the performance of Linux systems, but we think that most
The post Glances – An Advanced Real Time System Monitoring Tool for Linux first appeared on Tecmint: Linux Howtos, Tutorials & Guides.
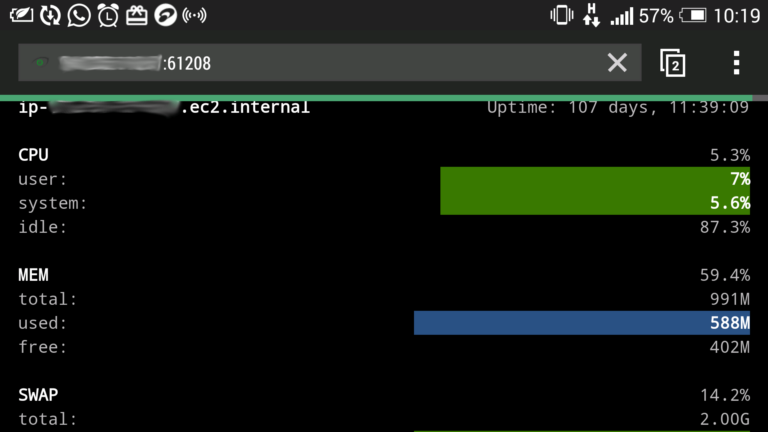
The post How to Monitor Remote Linux Systems with Glances first appeared on Tecmint: Linux Howtos, Tutorials & Guides .
Glances is a free open source, modern, cross-platform, real-time top and htop-like system monitoring tool, which offers advanced features compared to its counterparts, and can run
The post How to Monitor Remote Linux Systems with Glances first appeared on Tecmint: Linux Howtos, Tutorials & Guides.
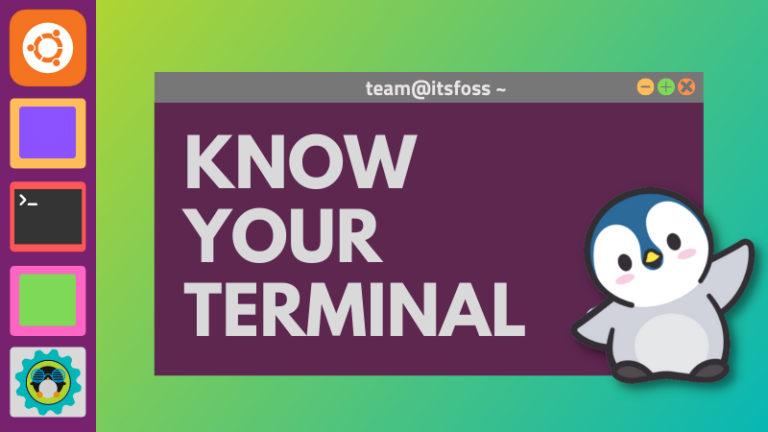
Want to know the basics of the Linux command line? Here’s a tutorial series with a hands-on approach.
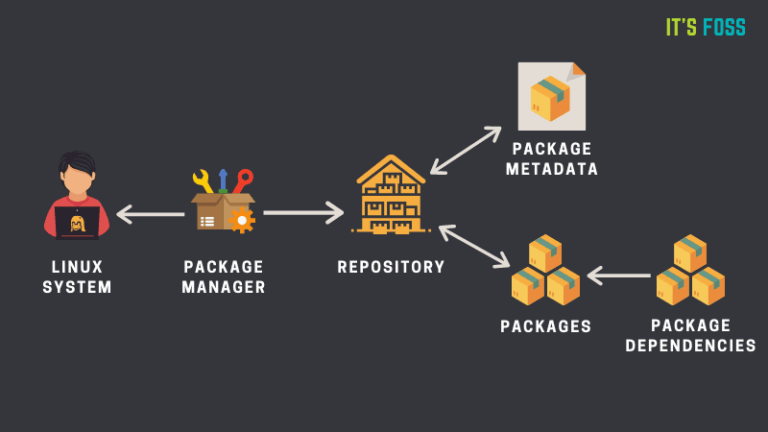
Learn the underlying mechanism of the repository system in Ubuntu to better handle the package management and avoid common update errors.
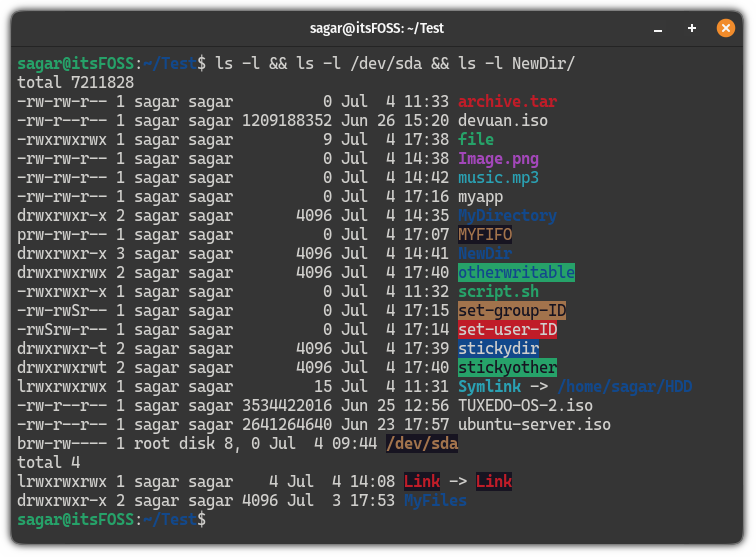
Wondering what are those colors in the ls command output? Where do they come from and how to set it? This article answers it all.
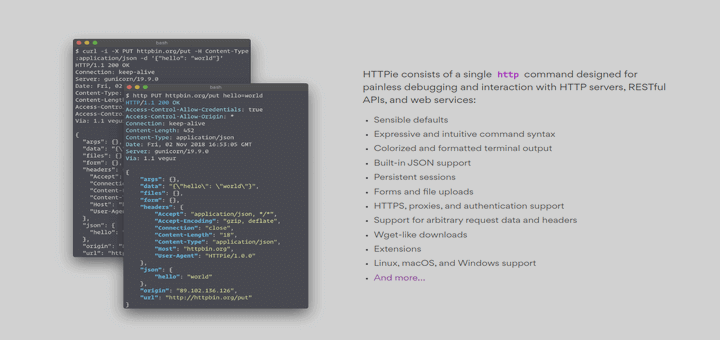
The post 5 Best Command Line HTTP Clients for Linux first appeared on Tecmint: Linux Howtos, Tutorials & Guides .
HTTP clients are utility software that enables you to download files over the Internet. Apart from being able to download files remotely, these command line
The post 5 Best Command Line HTTP Clients for Linux first appeared on Tecmint: Linux Howtos, Tutorials & Guides.
![How to Install PuTTY [SSH Client] on Linux Systems](https://webomate.net/wp-content/uploads/2023/07/how-to-install-putty-ssh-client-on-linux-systems-768x629.png)
The post How to Install PuTTY on Linux first appeared on Tecmint: Linux Howtos, Tutorials & Guides .
PuTTY is a free and open-source cross-platform SSH and telnet client that even after being around for over 20 years remains one of the most
The post How to Install PuTTY on Linux first appeared on Tecmint: Linux Howtos, Tutorials & Guides.
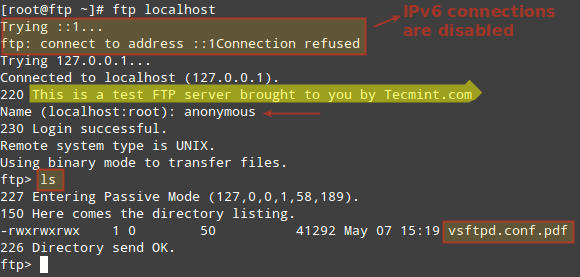
The post 6 Best Command-Line FTP Clients for Linux Users first appeared on Tecmint: Linux Howtos, Tutorials & Guides .
FTP (File Transfer Protocol) is a network protocol used for transferring files between a client and a server on a computer network. In the early
The post 6 Best Command-Line FTP Clients for Linux Users first appeared on Tecmint: Linux Howtos, Tutorials & Guides.


Understanding how to efficiently automate tasks on Linux can significantly simplify your daily operations. One such routine task is mounting drives, which can be performed automatically, saving you precious time. If you’re a GNOME user, you will be pleased to know that this interface makes auto-mounting drives particularly effortless. By following the steps outlined below, you’ll be on your way to becoming proficient at auto-mounting drives on Linux with GNOME in no time.
Before we delve into the process, it’s important to comprehend why automounting is a handy feature. Normally, when a storage drive is connected to your Linux system, it does not become instantly accessible. You must manually mount the drive every time you boot up. Automounting eliminates this hassle by ensuring the drive is automatically accessible when the system starts. Now that you know why this is crucial, let’s delve into the process.
If you’re a GNOME desktop user, you’re already equipped with a built-in utility called ‘Disks’. If not, don’t worry, installing it is easy:
sudo apt-get install gnome-disk-utility.Now, you are ready to use the ‘Disks’ utility, the key tool to automounting drives on your Linux system.
Now, let’s dive into the process of setting up the automount feature.
Launch the Disks Utility
Open the ‘Disks’ utility from your GNOME desktop’s menu. In the left panel, you’ll see a list of drives attached to your system. Choose the one you wish to automount.
Adjust Mount Options
Next, locate and click the ‘additional partition options’ button, represented by two gears under the Volumes section. Select ‘Edit Mount Options’ from the drop-down menu.
Set Automount Preferences
By default, the ‘User Session Defaults’ option is turned on. Turn it off to manually set your preferences. Now, tick the ‘Mount at system startup’ checkbox to ensure that the drive mounts automatically at boot. Additionally, you might want to select the ‘Show in user interface’ option for the drive to be visible in the file manager.
Save Changes and Test
After setting your preferences, click ‘OK’. A prompt will request your password to authenticate changes. Provide it, then restart your computer to test if the drive mounts automatically.
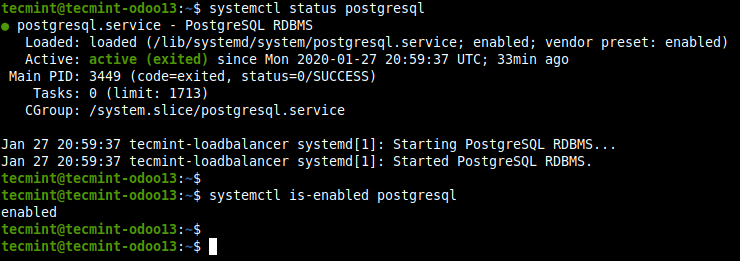
The post How to Install Odoo Community Edition in Ubuntu first appeared on Tecmint: Linux Howtos, Tutorials & Guides .
Odoo is a full-featured, extensible open-source ERP (Enterprise Resource Planning) software built using Python and PostgreSQL database for data storage. It is a suite of open-source business
The post How to Install Odoo Community Edition in Ubuntu first appeared on Tecmint: Linux Howtos, Tutorials & Guides.
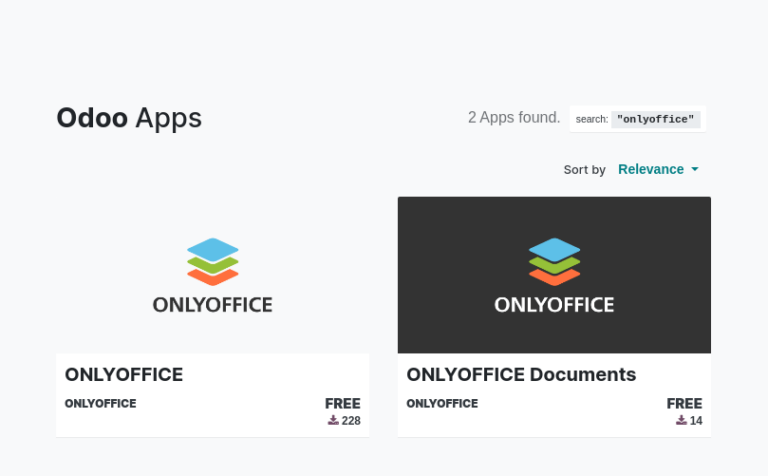
The post How to Connect Odoo with ONLYOFFICE Docs on Ubuntu first appeared on Tecmint: Linux Howtos, Tutorials & Guides .
Odoo is an open-source business platform that comes with a vast set of productivity apps allowing you to deal with what an average company needs
The post How to Connect Odoo with ONLYOFFICE Docs on Ubuntu first appeared on Tecmint: Linux Howtos, Tutorials & Guides.

New video on Xero Linux, first look at GyroFlow editor and the regular assortment of tips and tutorials.