A Comprehensive Guide to the wc Command in Linux

A Comprehensive Guide to the wc Command in Linux
by George Whittaker

One of the most valuable utilities offered by Unix and Linux-based systems is the wc command. This versatile command stands for “word count” and offers you a simple, yet powerful way to analyze text files. By comprehending the full scope of wc, you’ll increase your proficiency with command-line operations, making your interaction with Unix or Linux systems more productive and efficient.

Introducing the wc Command

At its core, wc performs a simple task: it counts. However, the objects of its attention include not only words, but also characters, lines, and bytes in files. The wc command will return four values: newline counts, word counts, byte counts, and the maximum line length when executed with a file name.

The basic syntax of the wc command is: wc [options] [file].

Options and Usage

Let’s look at the different options you can use with wc and how they work. The options will modify the output of wc, providing you with more targeted information. These options are entered in the command line after wc and before the file name.

  1. -l: This option enables you to count the lines in a file. For example, wc -l file1 will return the number of lines in ‘file1’.
  2. -w: The -w option tells wc to count the words in a file, with wc -w file1 returning the number of words in ‘file1’.
  3. -c or -m: These options command wc to count the bytes or characters in a file respectively. The command wc -c file1 or wc -m file1 returns the number of bytes or characters in ‘file1’.
  4. -L: With the -L option, wc determines the length of the longest line in a file. To find the length of the longest line in ‘file1’, you would use wc -L file1.

It’s important to note that you can use multiple options at the same time. For example, wc -lw file1 will return both the number of lines and words in ‘file1’.

Reading from Standard Input

The wc command can also read from standard input (stdin), not just from a file. This is useful when you want to count the words, lines, or characters from a stream of text that is not saved in a file. You simply type wc, hit enter, and then start typing the text. Once you’re done, press Ctrl + D to stop and wc will return the counts.

Git Basics - How Efficiently Manage Your Project Code

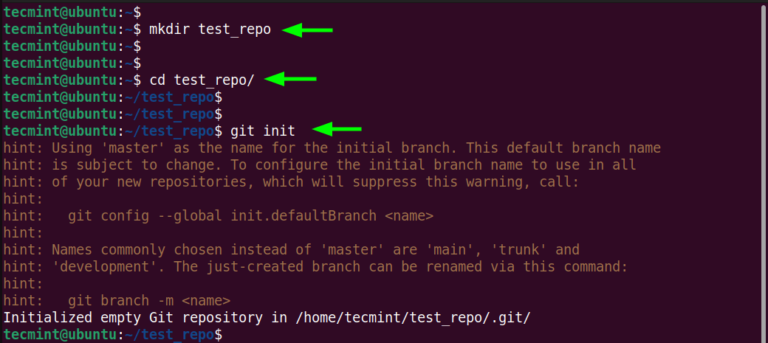
Git Basics – How Efficiently Manage Your Project Code

The post Learn the Basics of Git to Manage Projects Efficiently {Beginner’s Guide} first appeared on Tecmint: Linux Howtos, Tutorials & Guides .

Git is the most popular version control system (VCS) used by developers and development teams to keep track of changes made to source code. In

The post Learn the Basics of Git to Manage Projects Efficiently {Beginner’s Guide} first appeared on Tecmint: Linux Howtos, Tutorials & Guides.

How to Trace Files with the Linux Tail Command

How to Trace Files with the Linux Tail Command
by George Whittaker

In the realm of Linux systems, the tail command plays a vital role in monitoring and analyzing files. Its simplicity and versatility make it a powerful tool for various tasks. In this article, we will explore the depths of the tail command, combining insights from different sources, to provide you with a comprehensive understanding of its capabilities. From basic usage to advanced techniques, you will be equipped with the knowledge to become a master of file analysis in the Linux environment.

Understanding the Basics of the Tail Command

The tail command allows you to view the end portion of a file, making it particularly useful for monitoring log files or real-time updates. By default, it displays the last 10 lines of a file, but you can customize the output according to your needs. Let’s dive into the fundamental usage and options of the tail command.

Basic Usage and Options

Viewing the Last N Lines:

  • Use the basic tail command to display the last 10 lines of a file.
  • Tail the desired number of lines by specifying the -n option.
  • Learn how to use the +N option to display lines starting from the Nth line.

Monitoring Real-time File Updates:

  • Explore the -f option to follow a file as it grows, ideal for monitoring log files.
  • Combine -f with -n to view both new lines and a specific number of old lines.
  • Discover how to use Ctrl + C to exit the continuous tail mode.

Advanced Tail Command Techniques

Output Control:

  • Customize the number of lines displayed using the -c option.
  • Utilize the -b option to view the last N bytes of a file.
  • Learn about the -s option to specify a sleep interval between updates.

Filtering and Formatting Output:

  • Employ grep command in combination with tail to filter specific patterns from files.
  • Use regular expressions to refine your search criteria.
  • Leverage awk to format and extract specific fields from the tail command’s output.

Tail Command Examples for Practical Use Cases

Analyzing System Logs:

  • Analyze system log files with tail, enabling you to detect issues or security breaches promptly.
  • Discover how to continuously monitor logs using tail -f to catch real-time events.

Tracking Web Server Access Logs:

  • Learn how to monitor web server access logs to gain insights into visitor behavior and detect potential attacks.
  • Use tail to track IP addresses, URLs, or HTTP response codes in log files.

Debugging Applications:

10 Best Download Managers for Linux in 2023

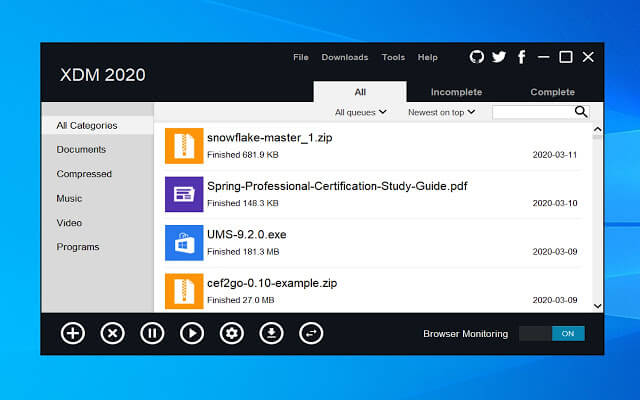
10 Best Download Managers for Linux in 2023

The post 10 Most Popular Download Managers for Linux in 2023 first appeared on Tecmint: Linux Howtos, Tutorials & Guides .

Download managers on Windows are one of the most needed tools that are missed by every newcomer to the Linux world, programs like Internet Download

The post 10 Most Popular Download Managers for Linux in 2023 first appeared on Tecmint: Linux Howtos, Tutorials & Guides.

Mastering the Power of Head Command: Unlocking Efficient Data Handling in Linux

Mastering the Power of Head Command: Unlocking Efficient Data Handling in Linux
by George Whittaker

In the realm of Linux, the head command holds immense potential for efficiently managing and extracting valuable information from files. We present a comprehensive guide to help you unleash the true power of the head command. From understanding its basic syntax to exploring advanced features, this article will equip you with the knowledge and techniques needed to become a proficient user.

Understanding the Basics of the head Command

What is the head command?

The head command is a powerful utility in Linux used to display the beginning section of a file or the standard input. It is particularly useful for analyzing large files and extracting relevant data efficiently.

Syntax and Usage

The syntax for the head command is as follows:

head [OPTION]... [FILE]... 

You can specify various options to control the output format and behavior of the command.

Exploring Essential Functionality

Displaying the First -n Lines

To extract the first n lines from a file, use the following command:

head -n  

This functionality is incredibly useful when you want to quickly preview the contents of a file or obtain a summary of its data.

Displaying the Default Number of Lines

If the number of lines is not specified, the head command displays the first ten lines by default. This default behavior can be altered using the -n option.

Unleashing Advanced Features

Combining Multiple Files

To view the beginning section of multiple files at once, you can use the head command with multiple file names as arguments. For example:

head   

This allows you to conveniently compare the initial contents of multiple files.

Using the -c Option

Apart from lines, you can also extract a specific number of bytes using the -c option. For instance:

head -c  

This functionality proves invaluable when dealing with binary files or when you need to extract a specific chunk of data.

Optimizing Output and Usage

Suppressing File Names

By default, the head command displays the file name along with the extracted lines. However, if you only want to view the lines without the file name, you can use the -q or --quiet option.

Ubuntu Desktop vs Ubuntu Server: What's the Difference?

Ubuntu Desktop vs Ubuntu Server: What’s the Difference?

The post Ubuntu Desktop vs Ubuntu Server: What’s the Difference? first appeared on Tecmint: Linux Howtos, Tutorials & Guides .

Ubuntu is one of the most widely used and popular Linux distributions, that comes in multiple editions including Ubuntu Desktop, Ubuntu Server, and Ubuntu Core

The post Ubuntu Desktop vs Ubuntu Server: What’s the Difference? first appeared on Tecmint: Linux Howtos, Tutorials & Guides.

What Is /dev/tty, /dev/tty0, and /dev/console in Linux

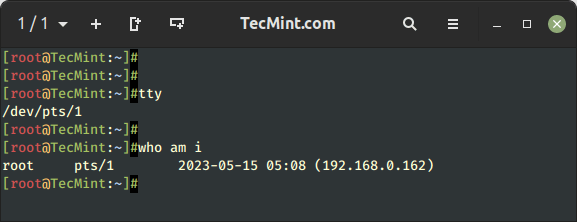
What Is /dev/tty, /dev/tty0, and /dev/console in Linux

The post Linux: Difference Between /dev/tty, /dev/tty0, and /dev/console first appeared on Tecmint: Linux Howtos, Tutorials & Guides .

Linux / UNIX supports device files that are stored in the /dev directory. These aren’t actual files, rather, they are special files or character devices

The post Linux: Difference Between /dev/tty, /dev/tty0, and /dev/console first appeared on Tecmint: Linux Howtos, Tutorials & Guides.

Using the Linux Cat Command to Manage Files and Directories

Using the Linux Cat Command to Manage Files and Directories
by George Whittaker

In the realm of Linux command-line tools, few commands are as versatile and widely used as cat. This article dives deep into the capabilities of the Linux cat command, merging insights from multiple sources to provide you with a comprehensive understanding of its usage. From basic file manipulation to concatenation and text processing, we will explore the numerous possibilities offered by this command.

Understanding the Basics of the cat Command

The cat command, short for “concatenate,” is a powerful tool for working with files in Linux. With its simple syntax and intuitive functionality, it is a must-know command for any Linux user. Let’s start by examining the basic usage and some of its core features.

Displaying File Contents

One of the primary uses of the cat command is to display the contents of a file. By passing the filename as an argument, you can quickly view the entire file on your terminal. Additionally, the cat command supports the use of wildcards and multiple file inputs, enabling you to view multiple files simultaneously.

Creating New Files and Appending Content

The cat command is not limited to just viewing files; it can also be used to create new files and append content to existing ones. By combining cat with the redirection operator >, you can redirect the output of the command to a new file, effectively creating it. Similarly, by using the append operator >>, you can add content to an existing file without overwriting its existing data.

Concatenating Files

One of the most powerful features of the cat command is its ability to concatenate files. By specifying multiple file names as arguments, cat can combine them into a single output. This functionality is particularly useful when dealing with large files or when you want to merge multiple files into a single entity.

Numbering Lines and Non-Printing Characters

The cat command offers additional options to enhance its functionality. For instance, by using the -n option, you can number the lines of the output, providing a convenient way to reference specific lines. Additionally, the -v option allows you to display non-printing characters, revealing hidden characters and whitespace.

The Sort Command: A Beginner’s Guide to Using Linux’s Best Organizer

The Sort Command: A Beginner's Guide to Using Linux's Best Organizer
by George Whittaker

In the world of Linux, the sort command is a powerful tool that enables you to efficiently sort and organize data in various ways. Whether you’re dealing with simple text files or complex datasets, understanding the ins and outs of the sort command can significantly enhance your productivity. In this article, we will explore the different features and applications of the sort command, drawing insights from various reputable sources.

Sorting Basics: Getting Started with the Sort Command

The sort command is an essential utility in Linux that arranges the contents of a file or standard input in ascending or descending order. It operates on a line-by-line basis and provides numerous options for customization.

Sorting Text Files with the Sort Command

Sorting text files is one of the most common applications of the sort command. By specifying the desired sorting criteria, you can effortlessly sort lines alphabetically or numerically. The -t option allows you to define a custom delimiter, while the -r option reverses the sorting order.

Advanced Sorting Techniques: Sorting by Fields and Columns

When working with structured data, sorting by specific fields or columns is crucial. The sort command offers flexibility in this regard. By using the -k option, you can specify the field number or column range to sort on. This feature proves especially useful when dealing with CSV files, log files, or other tabular data.

Sorting in Complex Scenarios: Sorting with Multiple Keys

In scenarios where a single sorting criterion isn’t sufficient, the sort command allows you to sort using multiple keys. By combining the -k option with the -s option, you can sort the data hierarchically, sorting by primary and secondary keys. This approach brings order to intricate datasets and facilitates efficient data analysis.

Sorting with Customized Output: Controlling Sorting Stability

By default, the sort command maintains the original order of identical keys. However, you can modify this behavior to achieve sorting stability or instability. The -s option ensures stable sorting, while the -u option removes duplicate lines. Understanding these options empowers you to control the output precisely.

Sorting Large Files: Handling Memory Limitations

Sorting large files can be resource-intensive, especially when dealing with limited memory. In such cases, the sort command provides a solution. The -T option allows you to specify a temporary directory, enabling the sort command to use disk space instead of memory, ensuring efficient sorting even with limited resources.

Tor Browser: Secure Anonymous Web Browsing in Linux

Tor Browser: Secure Anonymous Web Browsing in Linux

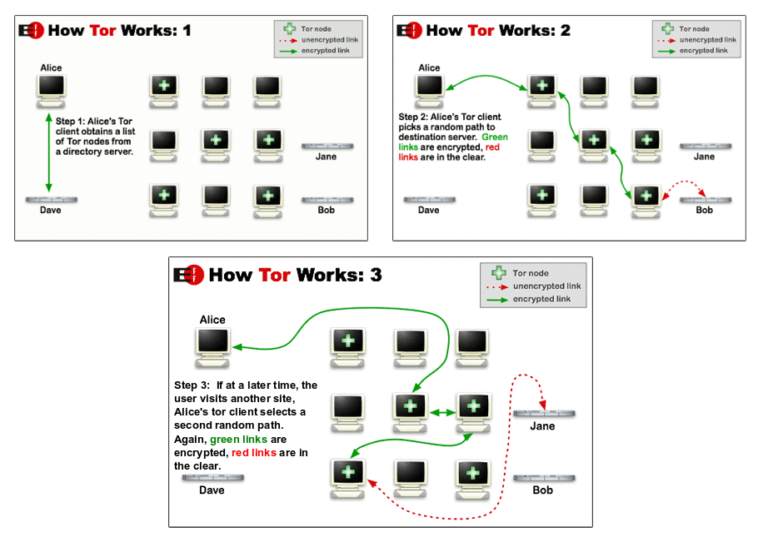
The post Tor Browser – How to Browse Web Anonymously in Linux first appeared on Tecmint: Linux Howtos, Tutorials & Guides .

The primary application we require to perform our internet activity is a browser, a web browser to be more perfect in terms of privacy and

The post Tor Browser – How to Browse Web Anonymously in Linux first appeared on Tecmint: Linux Howtos, Tutorials & Guides.

14 Best Security-Centric Linux Distros for Privacy in 2023

14 Best Security-Centric Linux Distros for Privacy in 2023

The post 14 Best Linux Distributions for Privacy and Security in 2023 first appeared on Tecmint: Linux Howtos, Tutorials & Guides .

Being anonymous on the Internet is not particularly the same as surging the web safely, however, they both involve keeping oneself and one’s data private

The post 14 Best Linux Distributions for Privacy and Security in 2023 first appeared on Tecmint: Linux Howtos, Tutorials & Guides.

10 Top Most Popular Linux Distributions in 2023

10 Top Most Popular Linux Distributions in 2023

The post 10 Top Most Popular Linux Distributions of 2023 first appeared on Tecmint: Linux Howtos, Tutorials & Guides .

We are almost half of the year, we thought it right to share with Linux enthusiasts out there the most popular distributions of the year

The post 10 Top Most Popular Linux Distributions of 2023 first appeared on Tecmint: Linux Howtos, Tutorials & Guides.

How to Use the Linux Zip Command to Compress and Uncompress Files Quickly

How to Use the Linux Zip Command to Compress and Uncompress Files Quickly
by George Whittaker

In the world of Unix-based operating systems like Linux, file packaging and compression utilities play a pivotal role. One such utility is the zip command, an effective tool for compressing files to save disk space and facilitate faster file transfers​. This article provides an in-depth guide to using the Linux zip command, featuring common use cases and practical examples.

Understanding the Syntax

The basic syntax for the Linux zip command is as follows:

zip [options] zipfile files_list

In this syntax:

  • options represent any command-line options you want to use.
  • zipfile is the name of the zip file you want to create.
  • files_list represents the files you wish to compress.

For instance, if you want to compress a file named filename.txt into a zip file named myfile.zip, you’d use the command:

$zip myfile.zip filename.txt​`oaicite:{"index":1,"metadata":{"title":"","url":"https://www.javatpoint.com/linux-zip-command","text":"Syntax:nn zip [options] zipfile files_list nn### Syntax to create any zip file:nn $zip myfile.zip filename.txt","pub_date":null}}`​.

Common Use Cases

The zip command is versatile and can be used in several different scenarios. Here are a few common use cases:

  1. Creating a zip archive: To compress multiple files into a single zip file, simply list the files you want to compress after the name of the zip file. For example:

zip files.zip file1.txt file2.txt file3.txt

This command compresses the three .txt files into a single .zip file named files.zip​.

  1. Deleting a file from a zip archive: To remove a file from an existing zip archive, use the -d command-line option, followed by the name of the file you want to remove. For instance, to remove file3.txt from files.zip, you’d use:

    zip -d files.zip file3.txt

    The tool will notify you of the deletion operation​​.

  2. Adding new files to an existing zip archive: To add new files to an existing zip archive, use the -u command-line option, followed by the names of the files you want to add. For example:

    zip -u files.zip file3.txt file4.txt

    This command adds file3.txt and file4.txt to the files.zip archive​​.

Exploring Useful Command Line Options

The zip command comes with a variety of command-line options that extend its functionality:

Remmina - A Remote Desktop Client and File Sharing for Linux

Remmina – A Remote Desktop Client and File Sharing for Linux

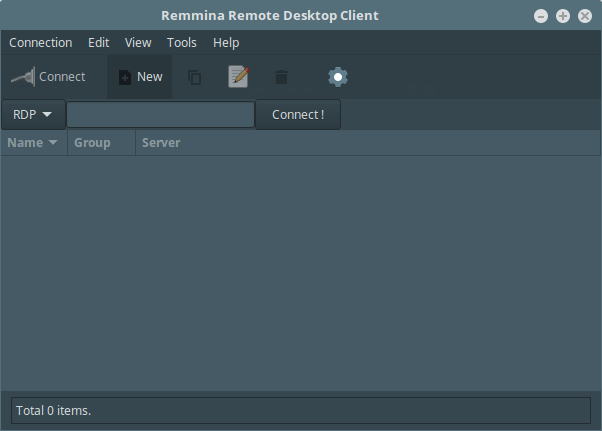
The post Remmina – A Feature Rich Remote Desktop Sharing Tool for Linux first appeared on Tecmint: Linux Howtos, Tutorials & Guides .

Remmina is a free and open-source, feature-rich, and powerful remote desktop client for Linux and other Unix-like systems, written in GTK+3. It’s intended for system

The post Remmina – A Feature Rich Remote Desktop Sharing Tool for Linux first appeared on Tecmint: Linux Howtos, Tutorials & Guides.

Deepin vs Elementary OS - A Detailed Comparison

Deepin vs Elementary OS – A Detailed Comparison

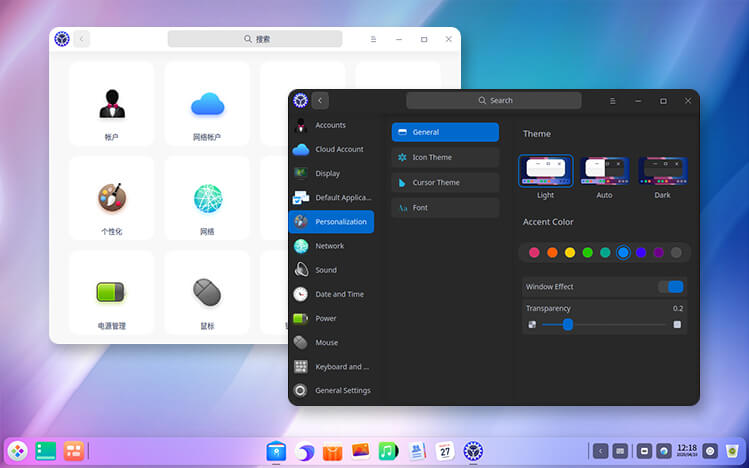
The post A Detailed Comparison Between Deepin vs Elementary OS first appeared on Tecmint: Linux Howtos, Tutorials & Guides .

Linux comes in numerous distributions or flavors, each suited for a particular purpose. Distributions such as RHEL (Red Hat Enterprise Linux), SUSE Enterprise Linux, Debian,

The post A Detailed Comparison Between Deepin vs Elementary OS first appeared on Tecmint: Linux Howtos, Tutorials & Guides.

How to Fix “sudo unable to open read-only file system” Error

How to Fix “sudo unable to open read-only file system” Error

The post How to Fix “sudo unable to open read-only file system” Error first appeared on Tecmint: Linux Howtos, Tutorials & Guides .

The Linux filesystem is a built-in layer that manages how files are stored and retrieved on a Linux system and other storage devices. It provides

The post How to Fix “sudo unable to open read-only file system” Error first appeared on Tecmint: Linux Howtos, Tutorials & Guides.

Mastering Text Manipulation With the Sed Command

Mastering Text Manipulation With the Sed Command
by George Whittaker

The Linux command line interface provides a wealth of tools for text processing, and one of the most powerful among them is the sed command. Sed, an abbreviation for Stream EDitor, is a versatile tool that allows for complex manipulation of text files and streams​​.

What is Sed?

Sed is a non-interactive text editor that operates on piped input or text files. By providing it with instructions, you can make it modify and process text in files or streams. The most common use cases of sed include operations like selecting text, substituting text, modifying an original file, adding lines to text, or deleting lines from the text. It can be used from the command line in Bash and other command-line shells​.

Sed Command Syntax

The syntax of the sed command comprises three main parts:

  1. Options: These control the output of the command.
  2. Script: This contains a list of commands to run.
  3. Input file: This is the file you’re using the sed command on.

In the absence of a filename, the script operates on the standard input data. You can also run the sed command without any options. The basic syntax looks like this:

sed OPTIONS [SCRIPT] [INPUTFILENAME]​​

Sed Vs. Awk

Sed isn’t the only text processing tool in the Linux ecosystem. Another powerful utility is awk. While both of them work with text, they have some key differences:

  • Sed excels at parsing and transforming text in a compact and simple language, making it simple and limited but easy to use.
  • Awk, on the other hand, is a tool for text processing and writing potent programs in the form of statements. It’s complex, versatile, and more powerful than sed, but also more complicated to use​​.

Exploring Sed with Examples

Let’s dive deeper into the workings of sed with some practical examples. For all these examples, assume that we have a file called ik.txt. Note that sed does not alter the original file by default. All changes will appear in the output, but the original file will remain unmodified.

Substituting Text

One of the most common operations in sed is text substitution. This is done using the s command. For example, to replace the first instance of a pattern abc with another pattern def, use:

sed s/abc/def/ ik.txt

Here, only the first instance of abc in each line is substituted with def. If you want to replace the third instance of a pattern, you can use:

sed s/abc/z/3 ik.txt

Global Substitutions

In a global substitution, all instances of a pattern are replaced. This is achieved by appending g to the substitute command. To replace all instances of abc with XYZ, use:

5 Node.js Managers To Install Multiple Node.js Versions

5 Node.js Managers To Install Multiple Node.js Versions

The post Node.js Version Managers – Install and Run Multiple Node.js Versions first appeared on Tecmint: Linux Howtos, Tutorials & Guides .

Node.js version managers, also known as “environment managers” are tools that enable developers or system administrators to install and manage several Node.js versions on their

The post Node.js Version Managers – Install and Run Multiple Node.js Versions first appeared on Tecmint: Linux Howtos, Tutorials & Guides.