Fixing Cannot add PPA: ”This PPA does not support jammy” Error
Trying to add a PPA and getting the “Cannot add PPA: ‘This PPA does not support” error in Ubuntu? Here’s what to do about this error.
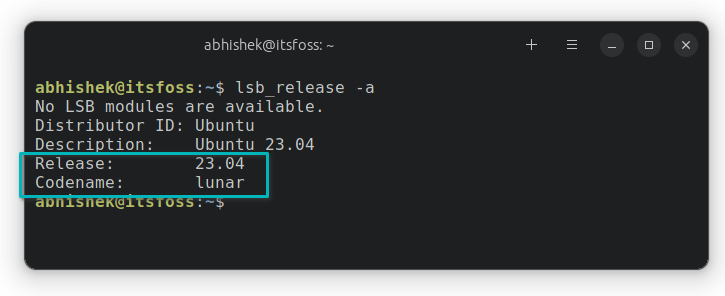
Trying to add a PPA and getting the “Cannot add PPA: ‘This PPA does not support” error in Ubuntu? Here’s what to do about this error.
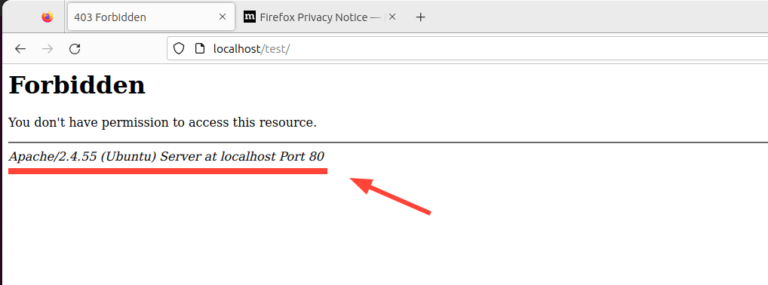
The post 16 Apache Web Server Security and Hardening Tips first appeared on Tecmint: Linux Howtos, Tutorials & Guides .
Apache web server is one of the most popular and widely used web servers for hosting files and websites. It’s easy to install and configure
The post 16 Apache Web Server Security and Hardening Tips first appeared on Tecmint: Linux Howtos, Tutorials & Guides.
![Install VirtualBox on Windows [So that You Can Run Linux VM]](https://webomate.net/wp-content/uploads/2023/09/install-virtualbox-on-windows-so-that-you-can-run-linux-vm-768x318.jpg)
Easy-to-follow guide to help you install Oracle VirtualBox on Windows so that you can install Linux in virtual machines.


In the dynamic world of Linux environments, safeguarding data stands paramount. Whether for personal use or maneuvering through server settings, understanding the depth of backup and restore strategies can be a game-changer. This article unfurls the multifaceted avenues of Linux backup and restore strategies, touching upon the necessity to have a fortified plan and how it keeps the data landscape secure and retrievable in Linux operating systems.
Understanding Linux File System
Before delving into the intricacies of backup and restore strategies, it’s vital to understand the Linux file system. Linux supports several file systems such as ext4, XFS, and Btrfs, each boasting unique features that govern how data is stored and retrieved. Appreciating the nuances of these file systems can significantly influence your backup and restore strategy, rendering it more robust and suited to your specific needs.
Backup Strategies
Protection starts with a proper backup strategy. Let’s explore various backup avenues available in Linux environments.
Linux offers potent commands like cp, tar, and rsync to facilitate manual backups. These commands are versatile, allowing users to specify exactly what to back up.
Cron jobs make it possible to schedule backups at regular intervals, automating the backup process and reducing the possibility of human error.
Bacula and Amanda stand tall as holistic solutions offering a range of features to facilitate automated backups.
Restore Strategies
Having a backup is half the journey; being adept at restoration completes it. Let’s delineate various restoration strategies pertinent to Linux environments.
Using Linux commands for restoration carries the same pros and cons as using them for backups, offering control but requiring expertise.
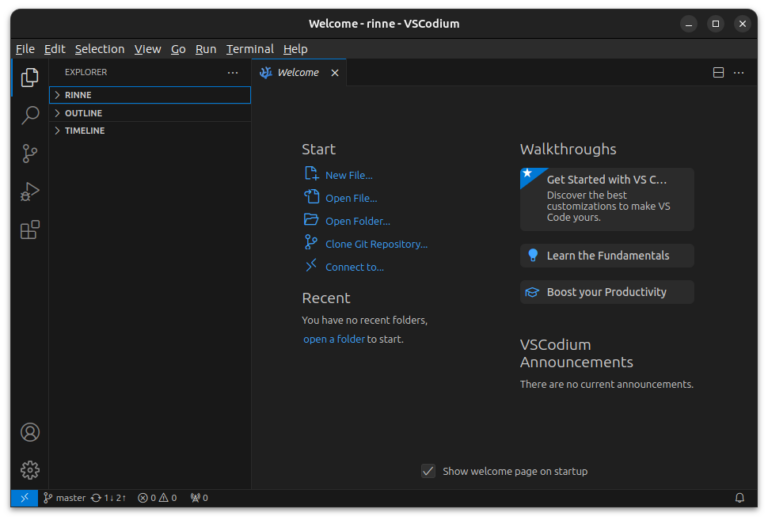
Not happy with telemetry in VS Code? Install VSCodium, a 100% open source clone of VS Code.
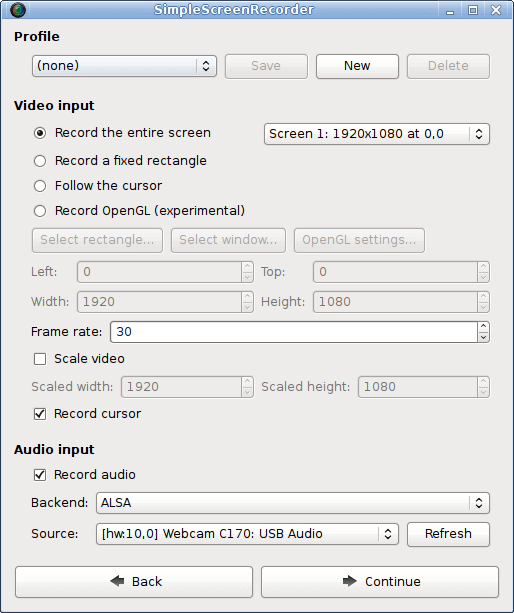
The post 11 Best Screen Recorders For Linux in 2023 first appeared on Tecmint: Linux Howtos, Tutorials & Guides .
Recording your desktop session is a common and good practice for a variety of purposes, such as playing a hard level of a game, creating
The post 11 Best Screen Recorders For Linux in 2023 first appeared on Tecmint: Linux Howtos, Tutorials & Guides.

More VirtualBox tutorials along with an updated list of LibreOffice tips in this edition of FOSS Weekly.
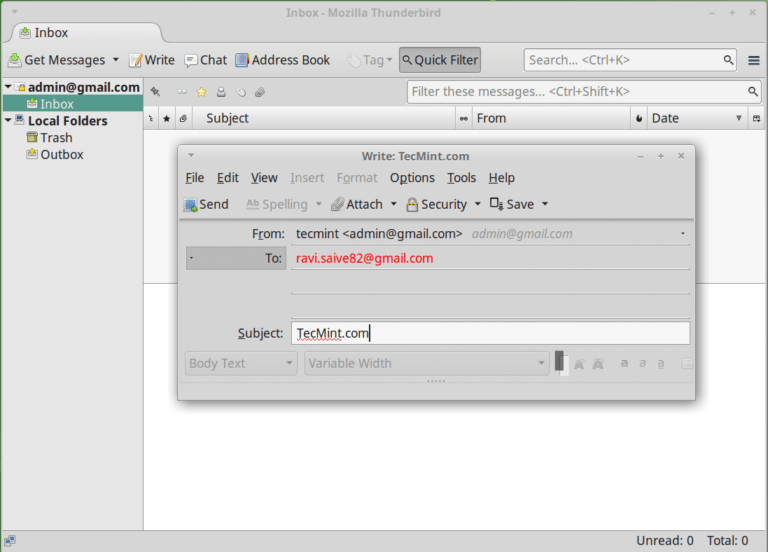
The post 6 Best Email Clients for Linux Systems first appeared on Tecmint: Linux Howtos, Tutorials & Guides .
Email, an enduring method of communication, remains a fundamental way to share information; however, the preference has shifted from web applications to email clients over
The post 6 Best Email Clients for Linux Systems first appeared on Tecmint: Linux Howtos, Tutorials & Guides.
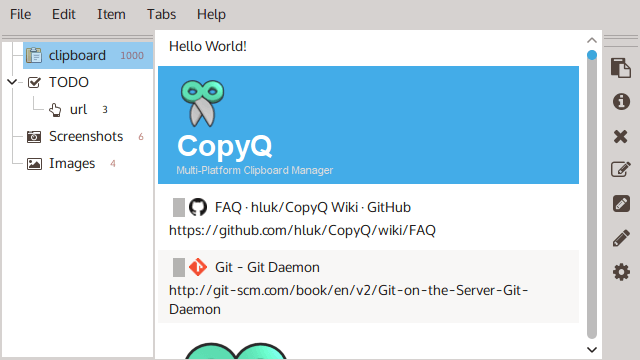
The post 10 Best Clipboard Managers for Linux first appeared on Tecmint: Linux Howtos, Tutorials & Guides .
Many times you get frustrated after copying something to your clipboard and then end up clearing it due to distraction from something else or someone.
The post 10 Best Clipboard Managers for Linux first appeared on Tecmint: Linux Howtos, Tutorials & Guides.

The post 10 Best PDF Document Viewers for Linux Systems first appeared on Tecmint: Linux Howtos, Tutorials & Guides .
This article is the continuation of our ongoing series about Linux Top Tools, In this series, we will introduce you most famous open source tools
The post 10 Best PDF Document Viewers for Linux Systems first appeared on Tecmint: Linux Howtos, Tutorials & Guides.


In the Linux environment, the file system acts as a backbone, orchestrating the systematic storage and retrieval of data. It is a hierarchical structure that outlines how data is organized, stored, and accessed on a storage device. Understanding the different Linux file system types can profoundly aid both developers and administrators in optimizing system performance and ensuring data security. This article delves deep into the intricate world of Linux file system types, tracing their evolutionary history and dissecting their features to provide a roadmap for selecting the appropriate file system for your needs.
History of Linux File Systems
Early Adventures in Linux File Systems
In the late 80s and early 90s, the Linux environment utilized relatively rudimentary file systems such as Minix, which later evolved to extended file systems like ext and ext2. These were foundational in framing the modern Linux file systems we see today.
The Journey from ext2 to ext4
The extended family of file systems transitioned from ext2 to ext3, introducing journaling features, and eventually culminated in the development of ext4, which brought forth substantial improvements in performance and storage capabilities.
Understanding Linux File System Types
Dive into the fascinating world of Linux file systems, each characterized by its unique features and functionalities that cater to various demands and preferences.
ext2
ext3
ext4
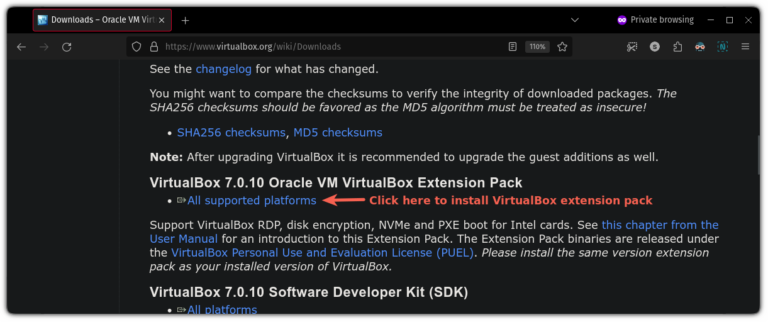
You can totally access the USB storage from inside the virtual machine. Here’s how to do that if you are using VirtualBox on Linux.

The post 15 Best Open Source Music Making Software for Linux in 2023 first appeared on Tecmint: Linux Howtos, Tutorials & Guides .
Are you a music producer and use Linux as your primary operating system, then music production is going to become easy for you after reading
The post 15 Best Open Source Music Making Software for Linux in 2023 first appeared on Tecmint: Linux Howtos, Tutorials & Guides.

The post Apache Virtual Hosting: Name-Based and IP-Based Virtual Hosts in RHEL Systems first appeared on Tecmint: Linux Howtos, Tutorials & Guides .
Virtual Hosting is a concept where multiple websites or domains are hosted on a single server, which is done to reduce resource overhead and running
The post Apache Virtual Hosting: Name-Based and IP-Based Virtual Hosts in RHEL Systems first appeared on Tecmint: Linux Howtos, Tutorials & Guides.
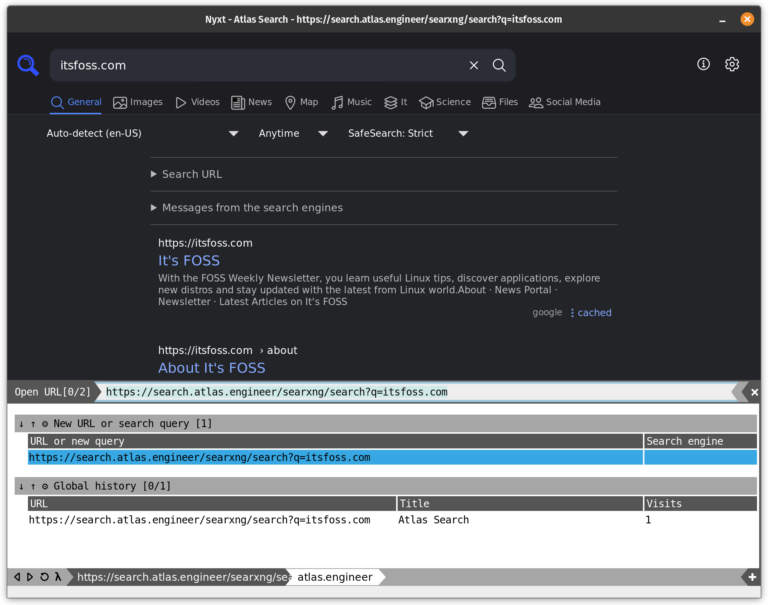
Looking for something different? These unique web browsers can help you make things interesting.

An enjoyable trivia quiz about Ubuntu version numbers and codenames of past releases.
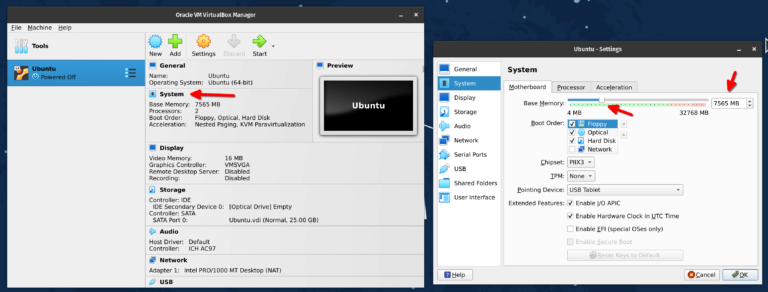
From CPU and RAM to disk size, VirtualBox allows you to tweak several configurations in a virtual machine even after creating it.

The post LFCS #6: How to Assemble Partitions as RAID Devices and Create System Backups first appeared on Tecmint: Linux Howtos, Tutorials & Guides .
The Linux Foundation launched the LFCS (Linux Foundation Certified Sysadmin) certification, a shiny chance for system administrators everywhere to demonstrate, through a performance-based exam, that
The post LFCS #6: How to Assemble Partitions as RAID Devices and Create System Backups first appeared on Tecmint: Linux Howtos, Tutorials & Guides.