Less Command Examples
Most Linux users will use the cat command to print the file contents, and that’s pretty cool until you are dealing with a file worth hundreds of lines.
It will fill the entire window with text, which is frustrating, as you may not be able to find the line you were looking for from the file.
In that case, you need a tool that prints one page at a time, allowing you to navigate through the file contents, and has some extra features to get things done easily.
This is where the less command comes into play.
The less command only prints one page at a time. And the best part is — it won’t load the entire file at once, and does it incrementally. So, you do not have to wait for the file to load entirely before you view the output.
Here, I will walk you through the following:
- The basic syntax of the less command
- Practical examples of the less command
- Practice questions for the less command
Let’s start with the first one.
Here’s How to Use the less command in Linux
To use the less command, it is important to know the basic syntax.
Here’s the syntax of the less command:
less [options] <filename or path to file>Let’s break down the syntax.
[options]: it is optional and used to modify the default behavior of the less command such as you can use the-Noption to show the number of lines.filename or path to file>: here’s where you specify the filename or the path to the file to use it with the less command.
Here’s a list of some useful options that you can use with the less command:
| Option | Description |
|---|---|
-E |
Quit immediately when you reach the end of the file. |
-F |
Quit if the entire file fits on the first screen. |
-N |
Show the number of lines. |
-S |
Chop long lines rather than wrapping them. |
-I |
Ignore the case while searching. |
+F |
Track changes made to the file in real-time. |
-M |
Show descriptive prompt with filename and line number. |
+/PATTERN |
Specify the search term while executing the command. |
-~ |
Suppress the tilde at the end of the file. |
If you like, you can also use the less command without any options, and it will open the file as shown here:
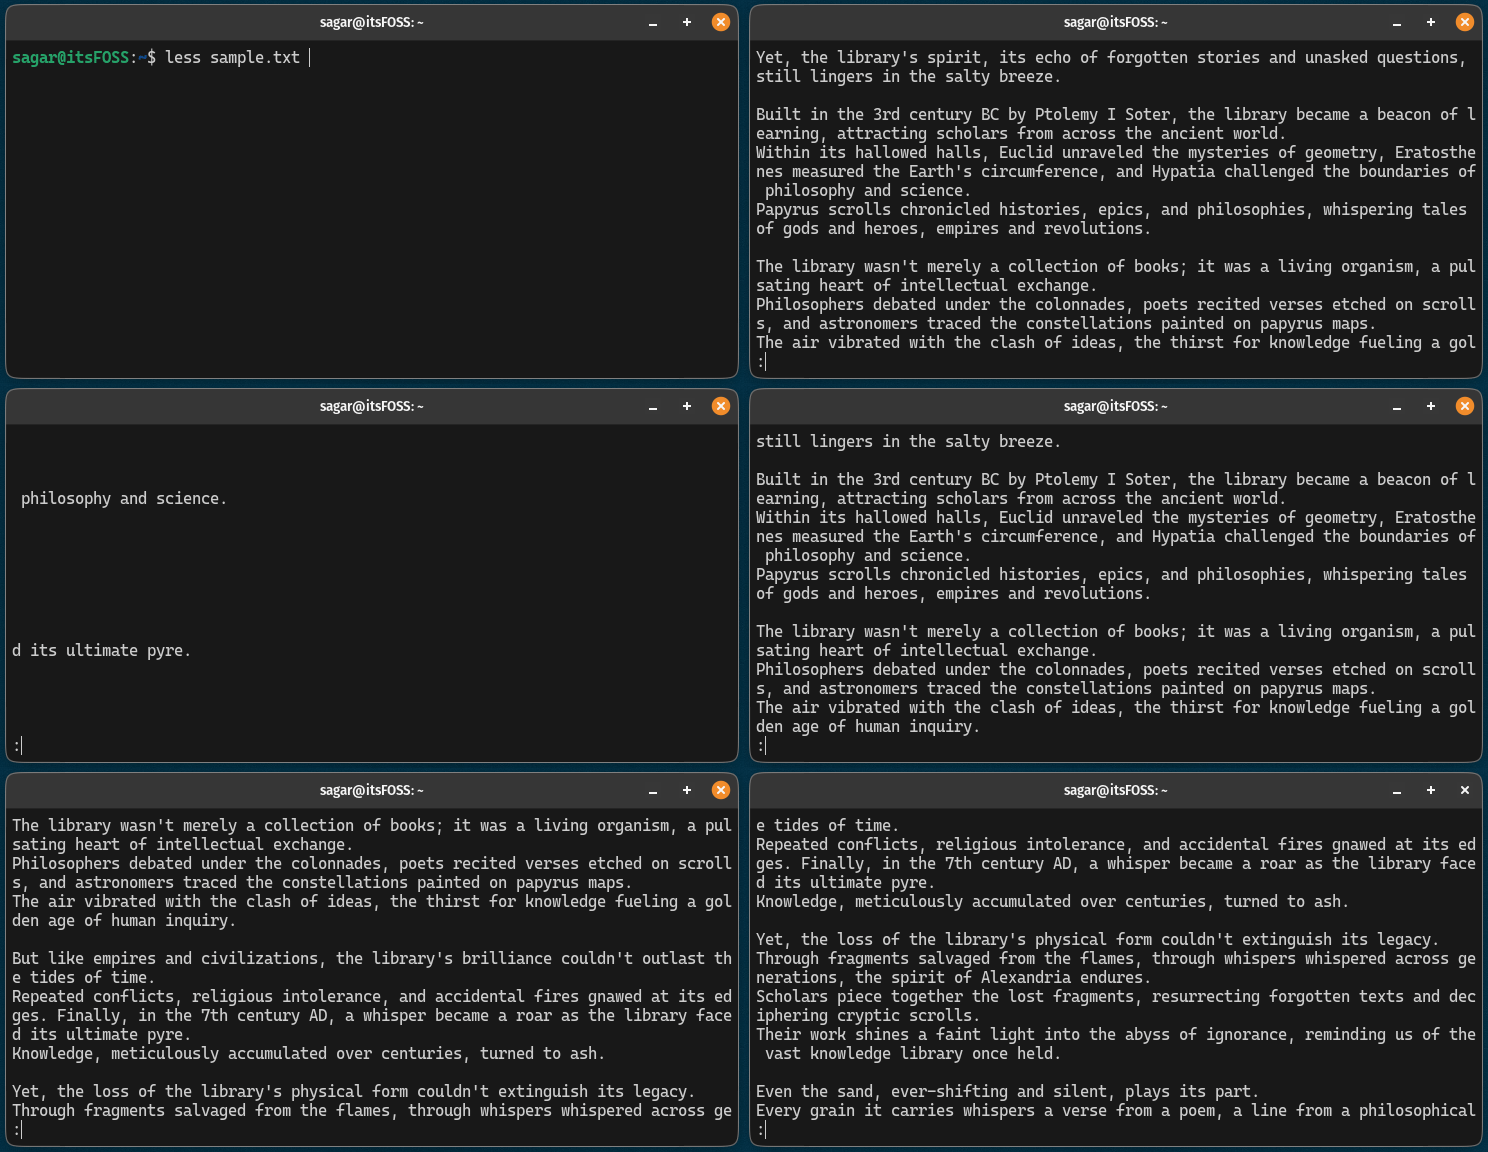
In the above example, I’m using the arrow keys to navigate through the file.
But less command can be used in a lot more ways by utilizing the options, and this is what I will be showing you next.
1. Navigate through the file effectively
In my opinion, learning how you navigate through the file is more essential than anything else.
To navigate through a file in the output, you can refer to the given table:
| Key | Action |
|---|---|
Spacebar or f |
Scroll down one page. |
b |
Scroll up one page. |
j or Down Arrow |
Move down one line. |
k or Up Arrow |
Move up one line. |
d or Ctrl+F |
Scroll down half a page. |
u or Ctrl+B |
Scroll up half a page. |
G |
Go to the end of the file. |
g |
Go to the beginning of the file. |
/pattern |
Search forward for a pattern. |
?pattern |
Search backward for a pattern. |
n |
Jump to the next search match. |
N |
Jump to the previous search match. |
q |
Quit the less utility. |
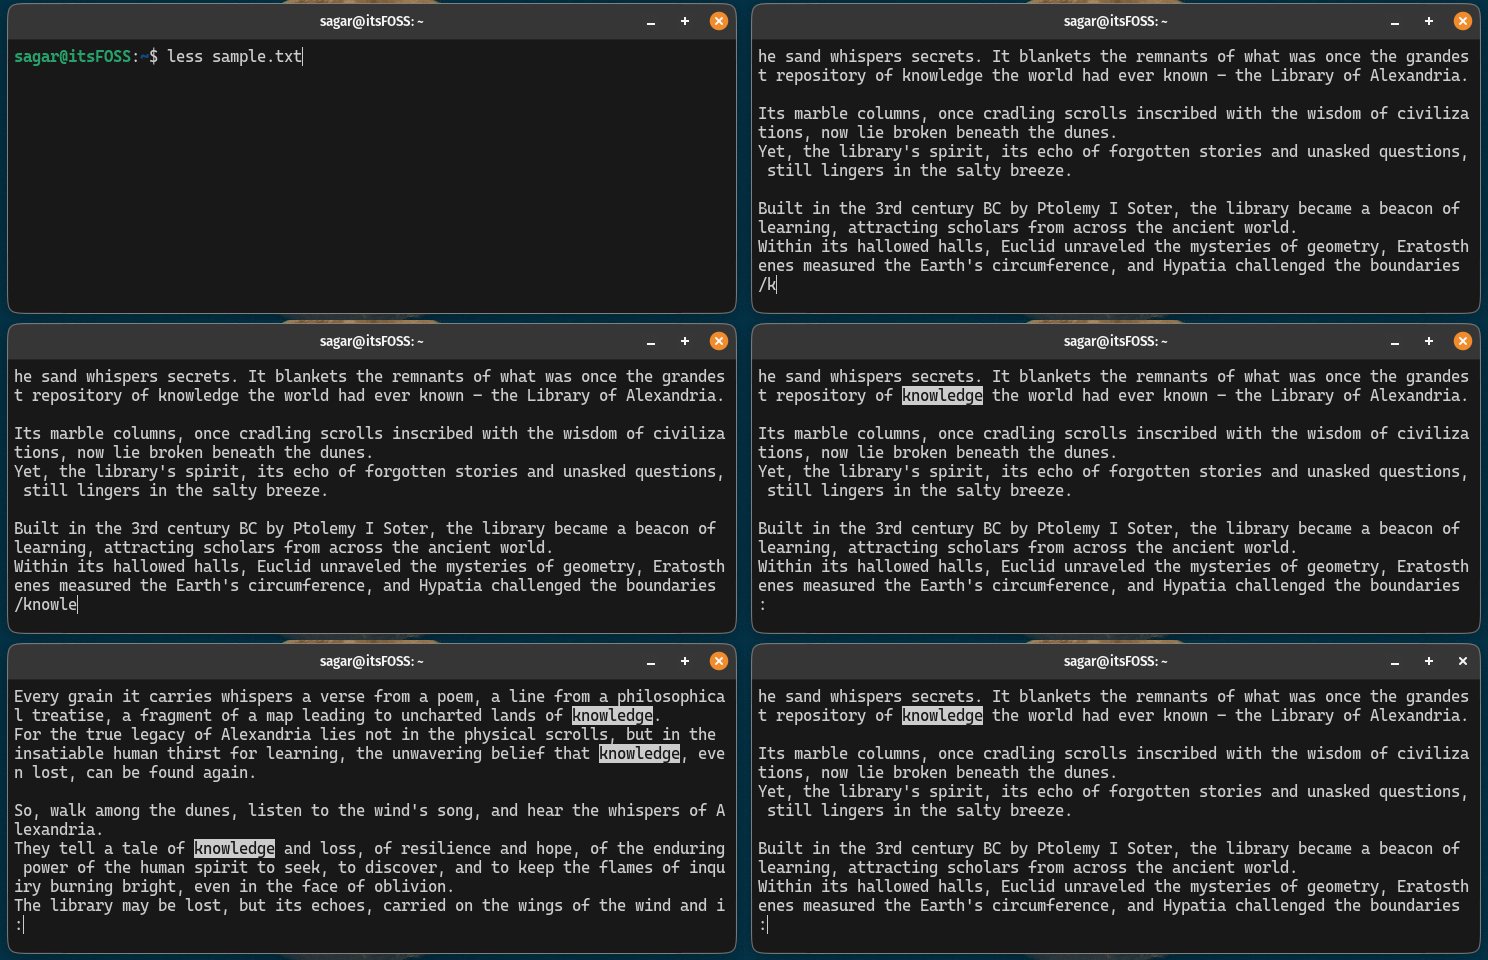
For example, here, I will demonstrate three actions at once: searching for a pattern, how you jump to the next and previous search:
2. Display line numbers
To display the number of lines, all you have to do is use the -N flag with the less command, as shown here:
less -N filename
3. Open the file at a specific line
If you want to open the file at a specific line, all you have to do is specify the line number as shown here:
less +line_number FilenameFor example, here, I opened the Haruki.txt file from the 15th line:
less +15 Haruki.txt
The command displayed the output from the 15th line in the file, but how do you verify that?
Well, all you need to do is use the -N flag to show the line number as explained earlier:
less -N +15 Haruki.txt
4. View multiple files at once
Yes, you can open multiple files at once for better productivity.
To view open multiple files at once, all you have to do is append the multiple file names to the less command as shown here:
less File1 File2 File 3Once you open two or more files, you can use the following keys to switch between them:
:n: go to the next file:p: go to the previous file
For example, here, I’ve opened two files Haruki.txt and sample.txt:
less Haruki.txt sample.txt
Suggested Read 📖

5. Search for a specific string
To search for a specific string, open the file using the less command and then press the / key (forward slash) and type the string you want to search.
Once you enter the string you would like to search, you can use the following keys to navigate between search results:
n: go to the next search resultN: go to the previous search result
For example, here, I searched for the string knowledge and then switched back and forth between the search results:

But if you would rather not traverse between search results and want to only print lines that contain the specific string, then you can use an ampersand symbol (&) before typing the sting:
&stringFor example, if I only want to print lines containing the term knowledge, then, this is how I’d do it:

I used the -N flag to know which lines have the string knowledge.
The other thing I want to bring light to be, by default, whatever you search for is case-sensitive.
If you would like to pass through the case-sensitive search, then you can use the -I flash as shown here:
less -I FilenameTo demonstrate this, I will search for KNOWLEDGE and still, it will show all the results irrespective of being case-sensitive by default:

Suggested Read 📖

6. Mark lines
There are times when you find something interesting while reading and want to mark that line so you can continue reading the file and come back to that line when your heart desires.
To mark the line, you have to press the m key and then type one character, which will work as an identifier for the marked position:
m<character>To find the marked line, you have to press the ' key and then press the character you used to mark the line.
For example, I will mark one line from the sample.txt file and then will show you how I came back to the marked line multiple times:

As you can see, I marked the sixth line, and regardless of where I was, once I pressed the ' key and then press the a (the character I used to mark the line), I jumped to the 6th line.
7. Monitor file changes in real-time
By far, this is my favorite feature of the less command, where you can monitor the file changes using the +F flag:
less +F FilenameTo demonstrate this, I used two terminal windows (will explain in a moment):

In the above example, I did two things:
- Used
less +F sample.txtto monitor changes actively on the left window. - Used the nano editor to write new lines in the
sample.txtso I can show you how the less behaves when there are any changes made to the file.
Practice questions 📔
After learning anything, you must practice getting the most out of it. This is why I share some practice questions to help you get comfortable with the commands:
- How can you search for the string while executing the less command itself?
- Quit the less command once you reach the end of the file.
- Show numbers for each line and redirect the output to a new file.
- How to show the filename and line number at the bottom of the line utility?
If you discover any difficulty solving the above questions, you can reach out to us through the comments section, or you can post your query in our community forum.
Wrapping Up
In this tutorial, I went through the basic syntax, practical examples, and some practice questions so you can get better at using the less command.
If you are just starting out with commands, and stumbled upon this article, I recommend you to check out our resource for beginners:

💬 I would love to know your suggestions on commands articles such as this, and what should I cover next?

