How to Use ‘apt-get’ Command in Ubuntu [20 Examples]
The apt-get command was the primary package management command used in Debian-based Linux distributions prior to the introduction of the apt command.
With the apt-get command, you could install, remove, upgrade, search, and manage packages on your system. However, starting from Ubuntu 16.04 and Debian 9, the apt command became the recommended command-line tool for package management, although apt-get is still available and functional.
What is apt-get Command?
The apt-get command is a powerful and free package management command line program, that is used to work with Ubuntu’s APT (Advanced Packaging Tool) library to perform the installation of new software packages, removing existing software packages, upgrading of existing software packages, and even used to upgrading the entire operating system.
The syntax for the apt-get command is as follows:
$ sudo apt-get <options> <command>
Here, <options> represent any additional flags or modifiers you can use with the command, and <command> specifies the action you want to perform, such as installing, upgrading, removing, or searching for packages.
1. Update Ubuntu System Packages
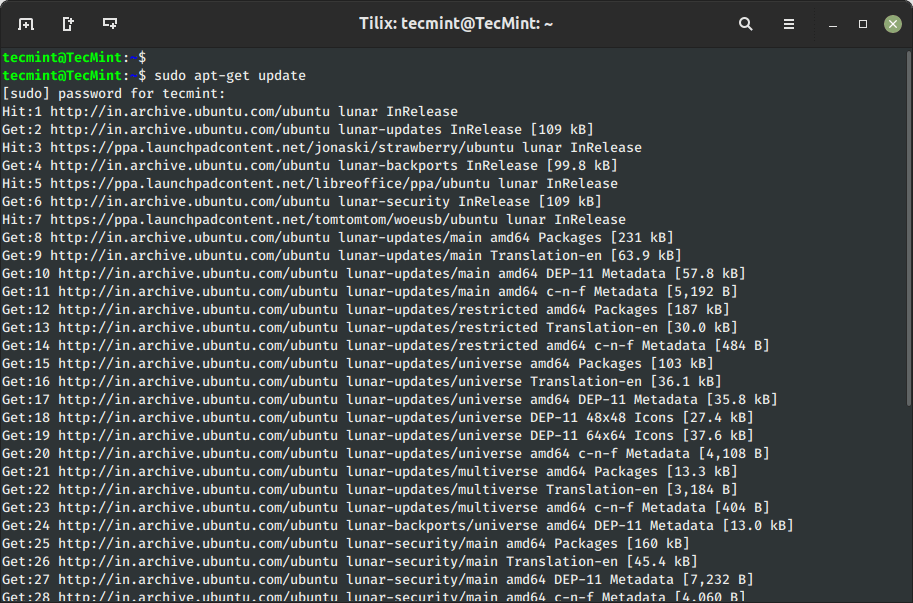
The ‘update‘ command is used to resynchronize the package index files from the sources specified in /etc/apt/sources.list file. The update command fetched the packages from their locations and update the packages to newer versions.
$ sudo apt-get update
2. Upgrade Ubuntu System Packages
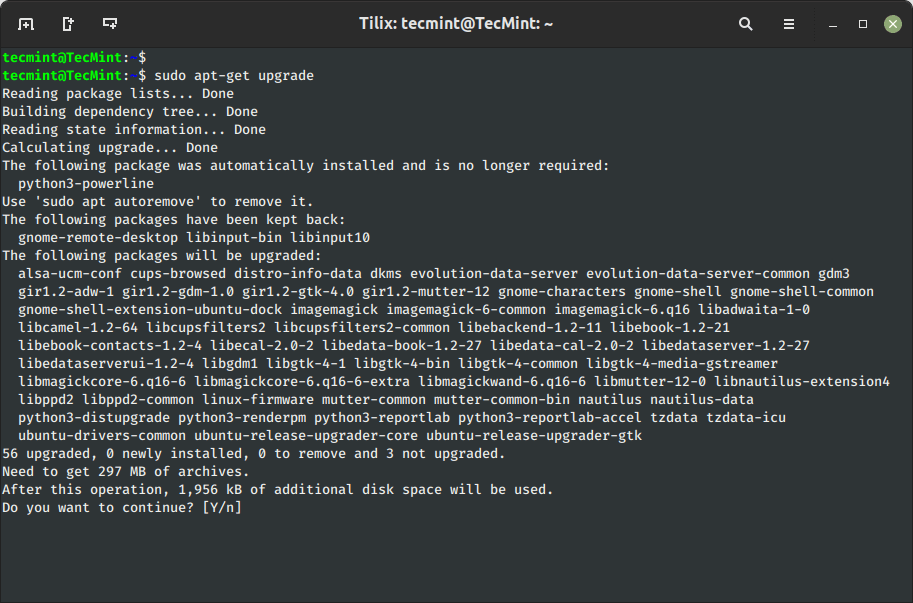
The ‘upgrade‘ command is used to upgrade all the currently installed software packages on the system. Under any circumstances currently installed packages are not removed or packages that are not already installed neither retrieved nor installed to satisfy upgrade dependencies.
$ sudo apt-get upgrade
3. Install Package in Ubuntu
The ‘install‘ sub command is tracked by one or more packages wishing for installation or upgrading from the repositories. For example, to install or update the package named wget, you can run:
$ sudo apt-get install wget
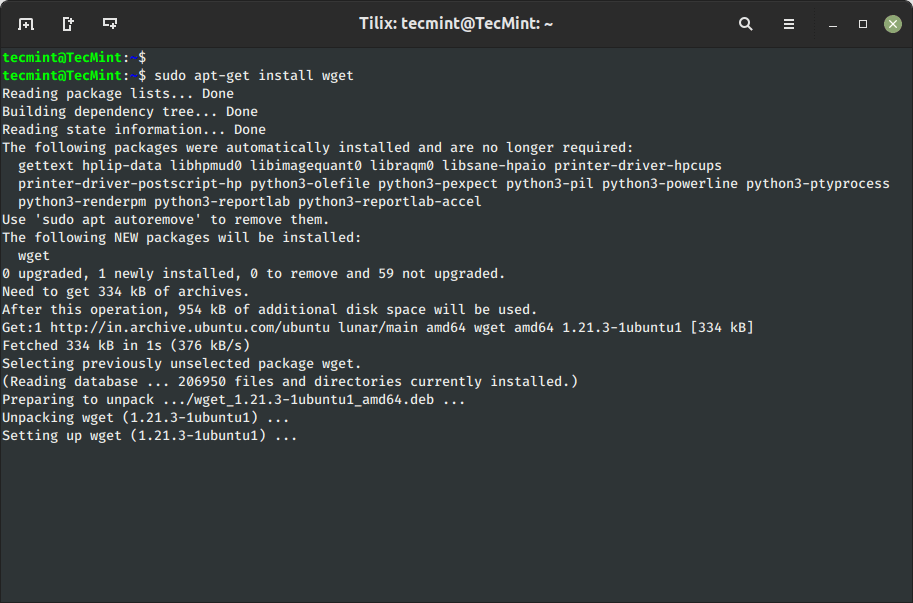
Alternatively, you can also use the apt-cache command to search for a package before installing in the system package cache based on a given search term such as name or description.
4. Install Multiple Packages in Ubuntu
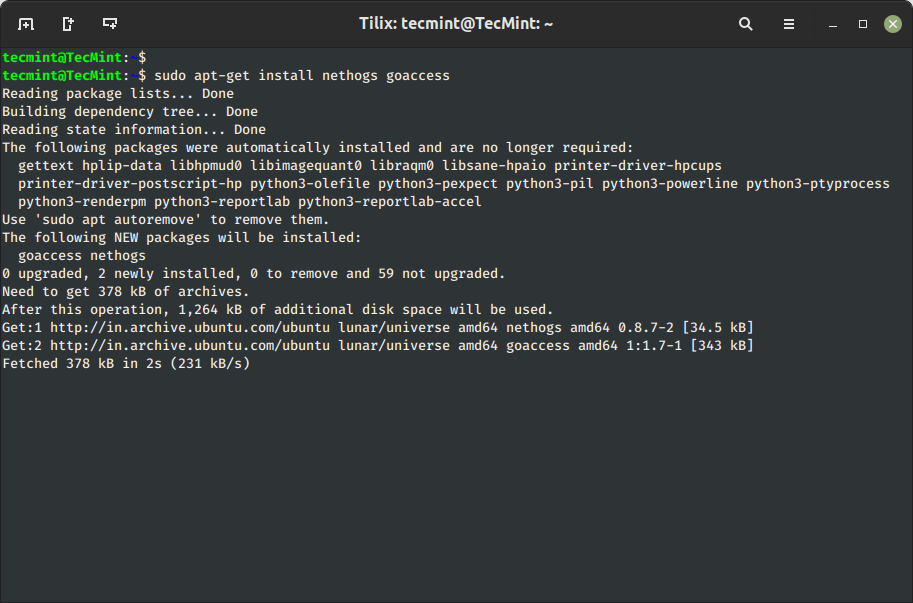
You can add more than one package name along with the command in order to install multiple packages at the same time. For example, the following command will install packages ‘nethogs‘ and ‘goaccess‘.
$ sudo apt-get install nethogs goaccess
5. Install Several Packages Using Wildcard
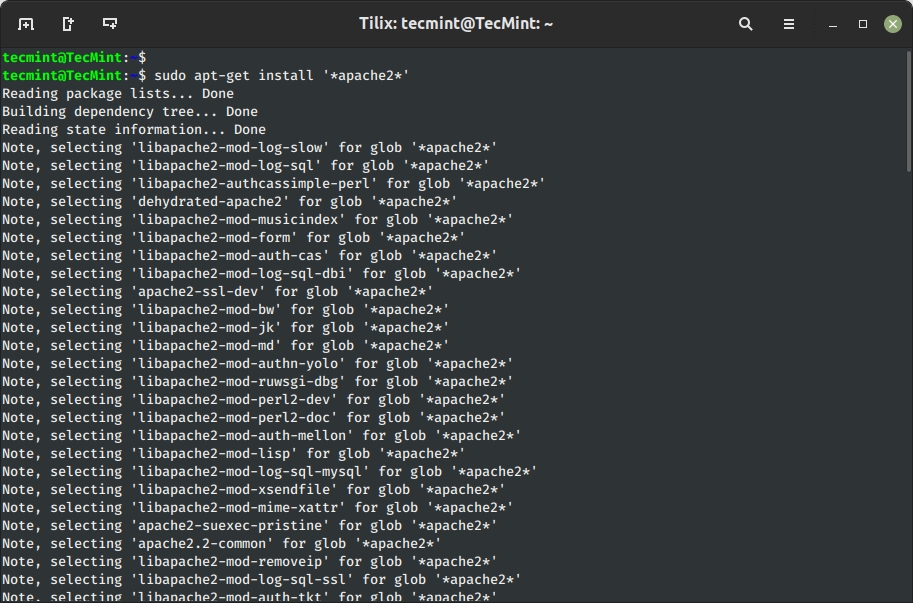
With the help of regular expression, you can add several packages with one string. For example, we use * wildcard to install several packages that contain the ‘*name*‘ string, the name would be ‘package-name‘.
$ sudo apt-get install '*name*'
6. Install Package Without Upgrading
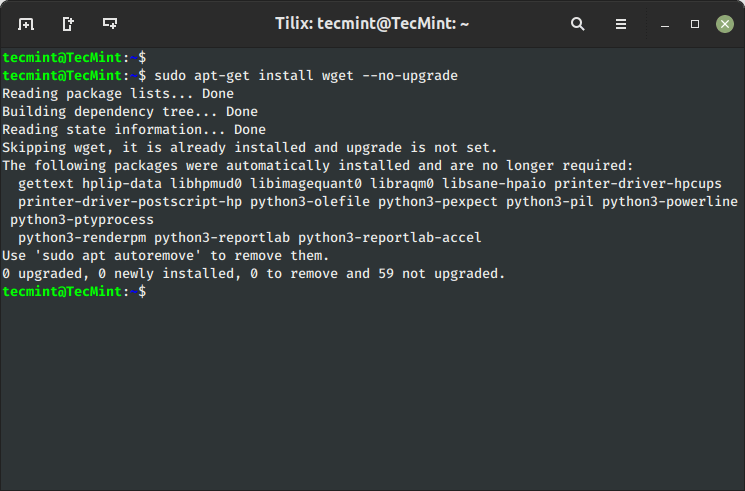
Using sub ‘--no-upgrade‘ command will prevent already installed packages from upgrading.
$ sudo apt-get install packageName --no-upgrade
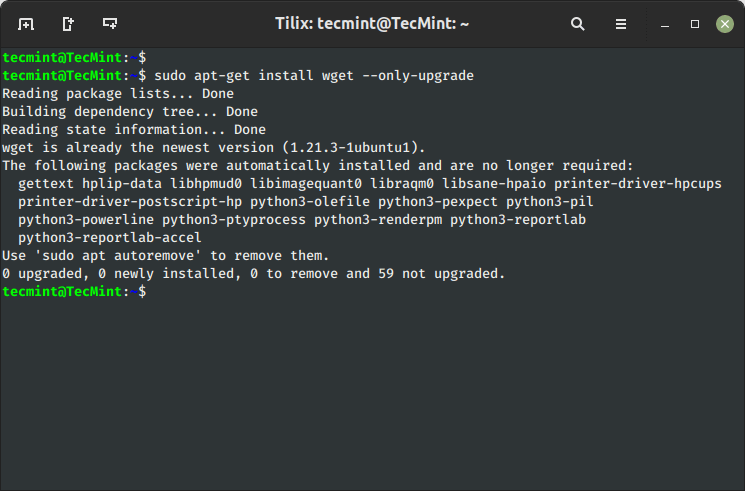
7. Update a Single Package
The ‘--only-upgrade‘ command does not install new packages but it only upgrades the already installed packages and disables new installation of packages.
$ sudo apt-get install packageName --only-upgrade
8. Install Specific Package Version on Ubuntu
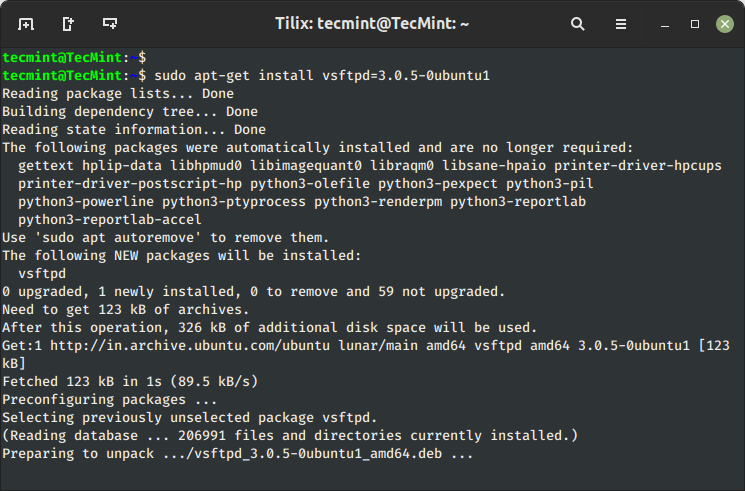
Let’s say you wish to install only specific versions of packages, simply use the ‘=‘ with the package name and append desired version.
$ sudo apt-get install vsftpd=3.0.5-0ubuntu1
9. Uninstall Package Without Configuration
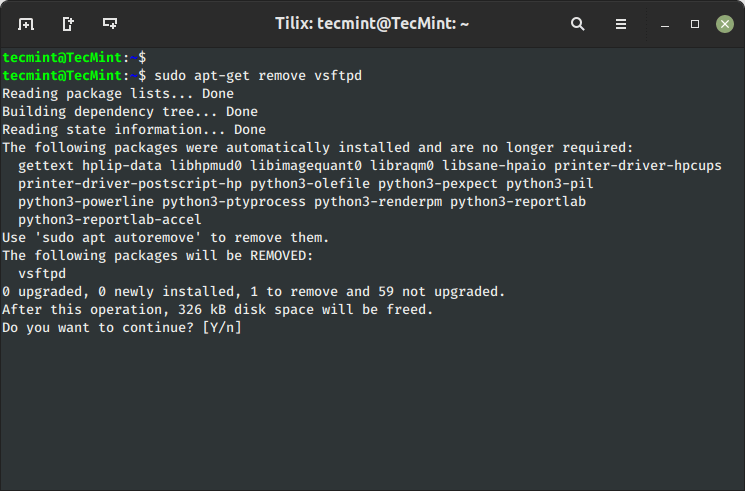
To uninstall software packages without removing their configuration files (for later re-use of the same configuration), use the remove command as shown.
$ sudo apt-get remove vsftpd
10. Completely Remove Package with Configuration
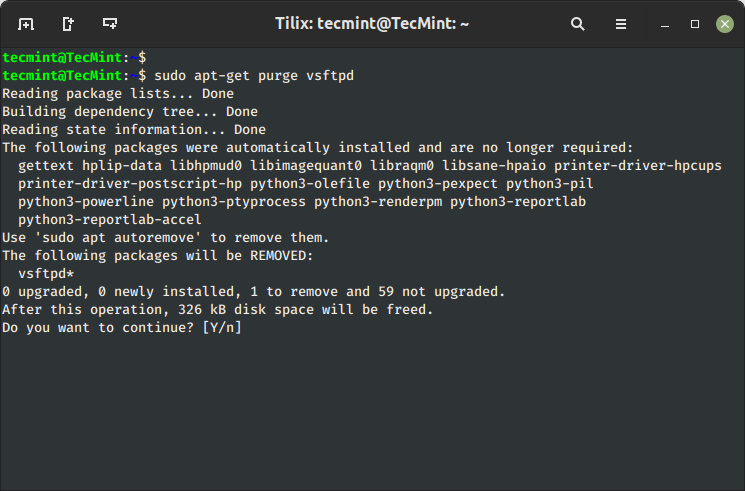
To remove software packages including their configuration files, use the ‘purge‘ sub-command as shown below.
$ sudo apt-get purge vsftpd
Alternatively, you can combine both commands together as shown below.
$ sudo apt-get remove --purge vsftpd
11. Clear Apt Cache to Save Disk Space
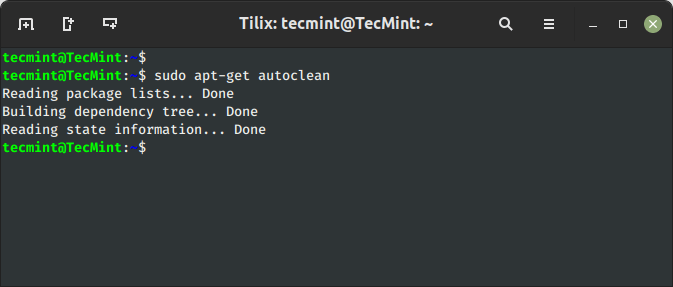
The ‘clean‘ command is used to free up the disk space by cleaning retrieved (downloaded) .deb files (packages) from the local repository.
$ sudo apt-get clean
OR
$ sudo apt-get autoclean
12. Download Source Code of a Package in Ubuntu
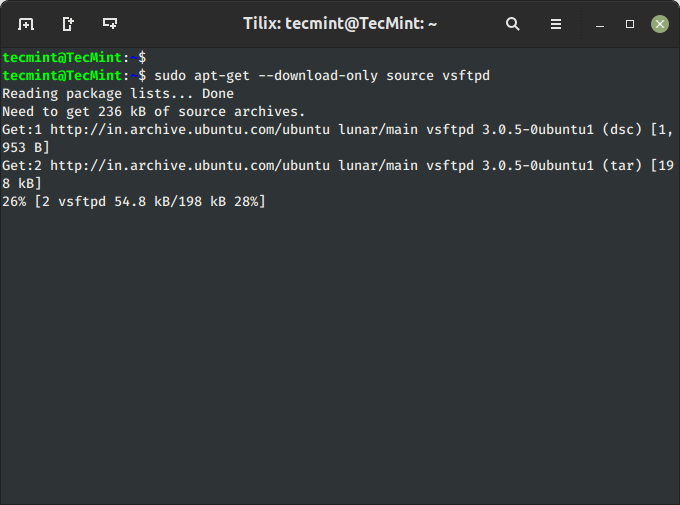
To download only the source code of a particular package, use the option ‘--download-only source‘ with ‘package-name‘ as shown.
$ sudo apt-get --download-only source vsftpd
13. Download and Extract Source Package in Ubuntu
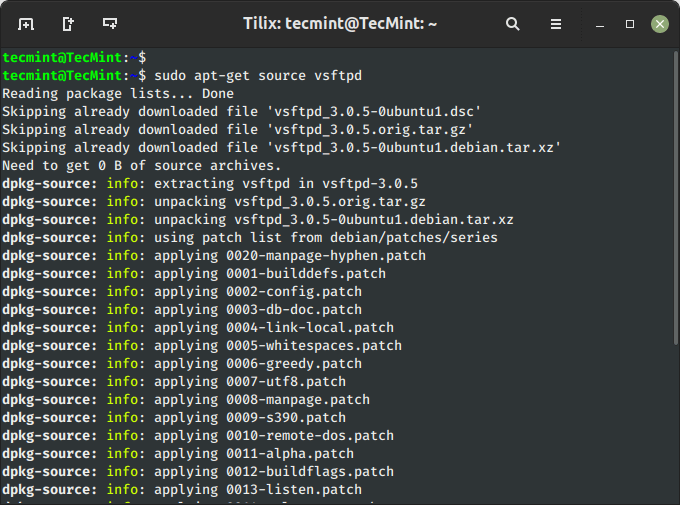
To download and unpack the source code of a package to a specific directory, type the following command.
$ sudo apt-get source vsftpd
You may encounter one common error “E: You must put some ‘deb-src’ URIs in your sources.list” when attempting to download the source code of a package from the repositories.
14. Compile Ubuntu Package from Source
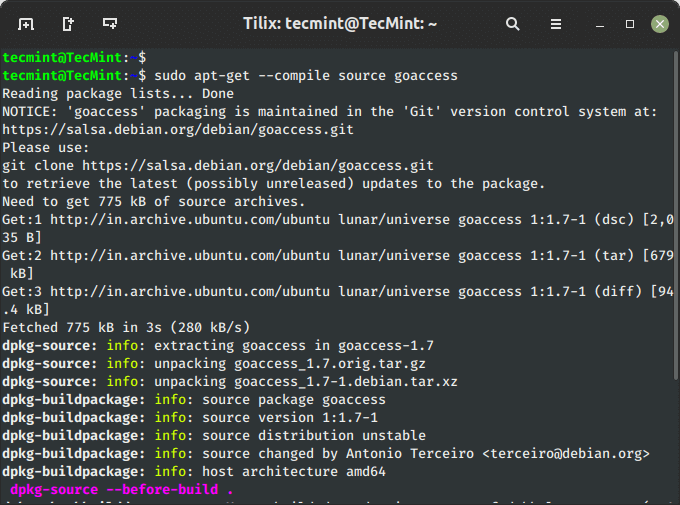
You can also download, unpack and compile the source code at the same time, using the option ‘--compile‘ as shown below.
$ sudo apt-get --compile source goaccess
15. Download Package Without Installing
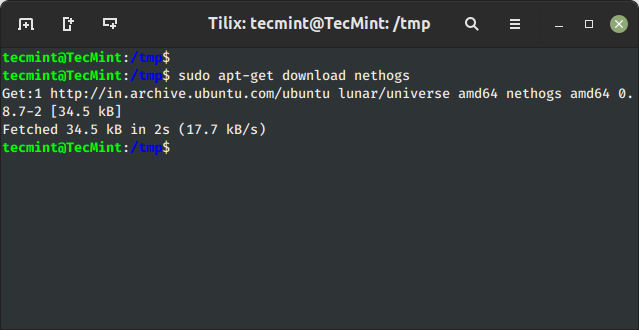
Using the ‘download‘ option, you can download any given package without installing it. For example, the following command will only download the ‘nethogs‘ package to the current working directory.
$ sudo apt-get download nethogs
16. View Package Changelog in Ubuntu
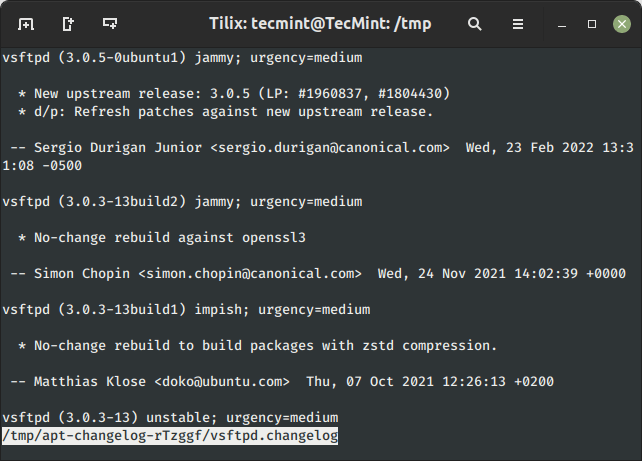
The ‘changelog‘ flag downloads a package change-log and shows the package version that is installed.
$ sudo apt-get changelog vsftpd
17. View Broken Dependencies in Ubuntu
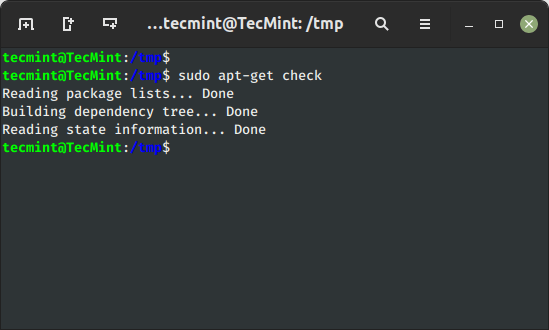
The ‘check‘ command is a diagnostic tool, which is used to update the package cache and check for broken dependencies.
$ sudo apt-get check
18. Install Build Dependencies of Package
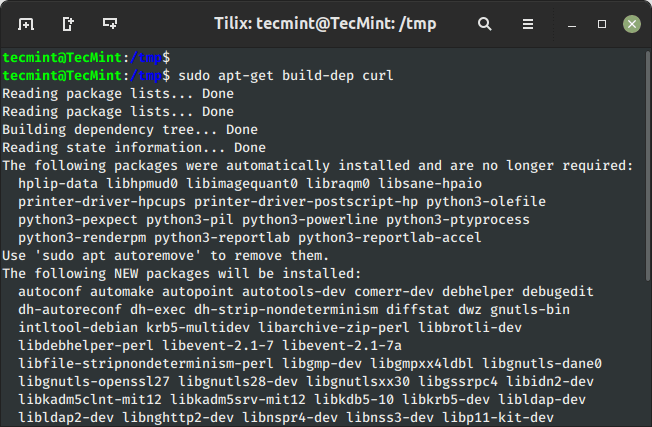
The ‘build-dep‘ command searches the local repositories in the system and installs the build dependencies for the curl package. If the package does not exist in the local repository it will return an error code.
$ sudo apt-get build-dep curl
19. Auto Remove Installed Packages
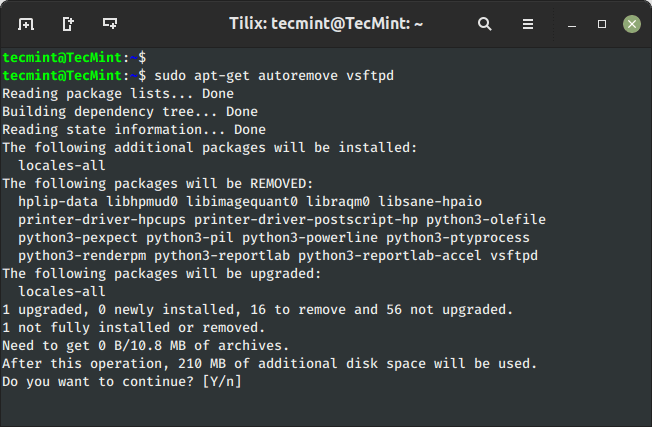
The ‘autoremove‘ sub-command is used to auto-remove packages that were certainly installed to satisfy dependencies for other packages but were now no longer required. For example, the following command will remove an installed package with its dependencies.
$ sudo apt-get autoremove vsftpd
20. apt-get Command Help
The apt-get help command displays the built-in help documentation with the available options to use with the apt-get command.
$ sudo apt-get help
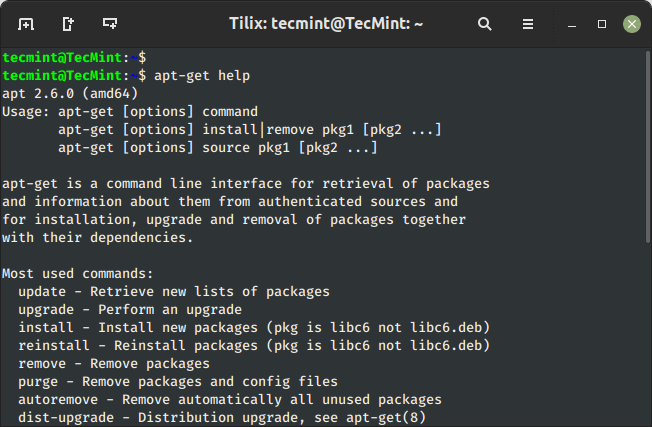
I’ve covered most of the available options with the apt-get command, but still, there are more options available, you can check them out using ‘man apt-get‘ from the terminal.
I hope you enjoyed reading this article, If I’ve missed anything and you would like me to add to the list. Please feel free to mention this in the comment below.
Read Also : 20 Useful Linux YUM Commands for Package Management



![How to Find Parent Process [Child Processes] PPID in Linux](https://webomate.net/wp-content/uploads/2024/03/how-to-find-parent-process-child-processes-ppid-in-linux-768x392.png)
