How to Install Wine in Ubuntu
With some effort, you can run Windows applications on Linux using Wine. Wine is a tool you can try when must use an Windows-only application on Linux.
Please note that you CANNOT run any Windows games or software with Wine. Please go through the database of supported applications. The software rated platinum or gold have a higher chance of running smoothly with Wine.
If you have found a Windows-only software that Wine supports well and now looking to use it, this tutorial will help you with the Wine installation on Ubuntu.
💡
Installing Wine on Ubuntu
There are various ways to install Wine on your system. Almost all the Linux distros come with Wine in their package repository.
Most of the time, the latest stable version of Wine is available via the package repository.
- Install WINE from Ubuntu’s repository (easy but may not be the latest version)
- Install WINE from Wine’s repository (slightly more complicated but gives the latest version)
Please be patient and follow the steps one by one to install and use Wine. There are several steps involved here.
🚧
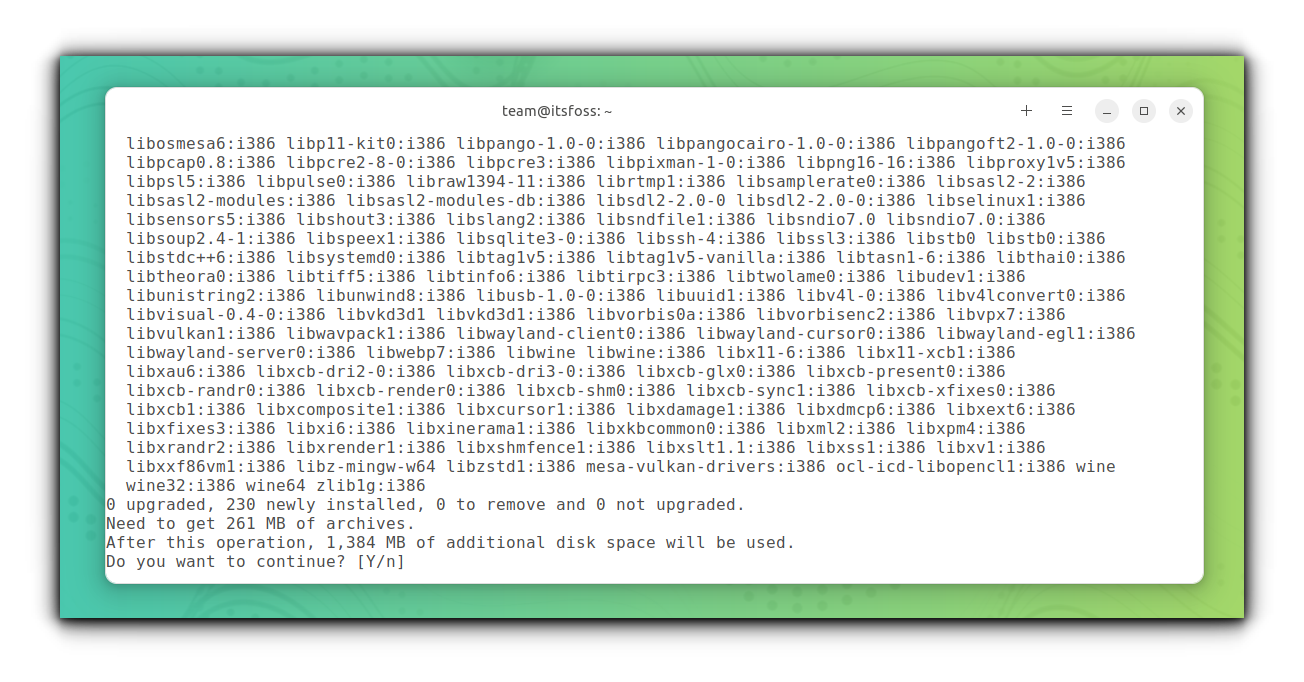
Keep in mind that Wine installs too many packages. You will see a massive list of packages and install sizes of around 1.3 GB.
Method 1. Install WINE from Ubuntu (easy)
Wine is available in Ubuntu’s Official repositories, where you can easily install it. However, the version available this way may not be the latest.
Even if you are using a 64-bit installation of Ubuntu, you will need to add 32-bit architecture support on your distro, which will benefit you in installing specific software.
Type in the commands below:
sudo dpkg --add-architecture i386Then install Wine using:
sudo apt update
sudo apt install wine
Method 2: Install the latest version from Wine’s repository
Wine is one such program that receives heavy developments in a short period. So, it is always recommended to install the latest stable version of Wine to get more software support.
First, remove any existing Wine installation.
Step 1: Make sure to add 32-bit architecture support:
sudo dpkg --add-architecture i386Step 2: Download and add the repository key:
sudo mkdir -pm755 /etc/apt/keyrings
sudo wget -O /etc/apt/keyrings/winehq-archive.key https://dl.winehq.org/wine-builds/winehq.key
Step 3: Now download the WineHQ sources file.
🚧
For Ubuntu 23.04 Lunar Lobster, use the command below:
sudo wget -NP /etc/apt/sources.list.d/ https://dl.winehq.org/wine-builds/ubuntu/dists/lunar/winehq-lunar.sourcesIf you have Ubuntu 22.04 or Linux Mint 21.X series, use the command below:
sudo wget -NP /etc/apt/sources.list.d/ https://dl.winehq.org/wine-builds/ubuntu/dists/jammy/winehq-jammy.sourcesIf you are running Ubuntu 20.04 or Linux Mint 20.X series, use:
sudo wget -NP /etc/apt/sources.list.d/ https://dl.winehq.org/wine-builds/ubuntu/dists/focal/winehq-focal.sourcesUbuntu 18.04 or Linux Mint 19.X series users can use the command below to add the sources file:
sudo wget -NP /etc/apt/sources.list.d/ https://dl.winehq.org/wine-builds/ubuntu/dists/bionic/winehq-bionic.sourcesOnce done, update the package information and install the wine-stable package.
sudo apt install --install-recommends winehq-stableIf you want the development or staging version, use winehq-devel or winehq-staging respectively.
Initial Wine configuration
Once Wine is installed, run the following:
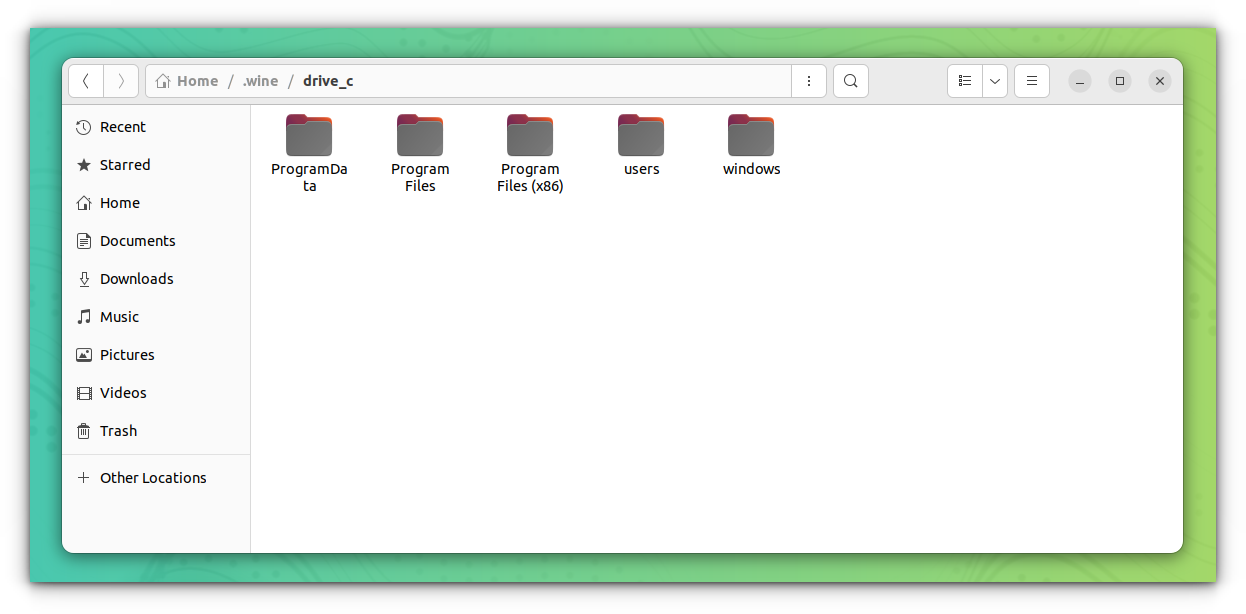
winecfgThis will create the virtual C: Drive for installing Windows applications.
While following these steps, sometimes, you may not find the “Open With Wine Windows Program Loader” option in Nautilus right-click menu.
In that case, fix it by creating a soft link to appropriate directory:
sudo ln -s /usr/share/doc/wine/examples/wine.desktop /usr/share/applications/And restart your system to get the change.
Using Wine to run Windows applications
Once you have installed Wine and configured it by running winecfg, now is the time to install Windows apps.
Here, the 7Zip.exe file is used for demonstration purposes. I know I should have used a better example, as 7Zip is available on Linux. Still, the process remains the same for other applications.
Firstly, download the 7Zip .exe file from their official downloads page.
Now, right-click on the file and select “Open With Wine Windows Program Loader” option:
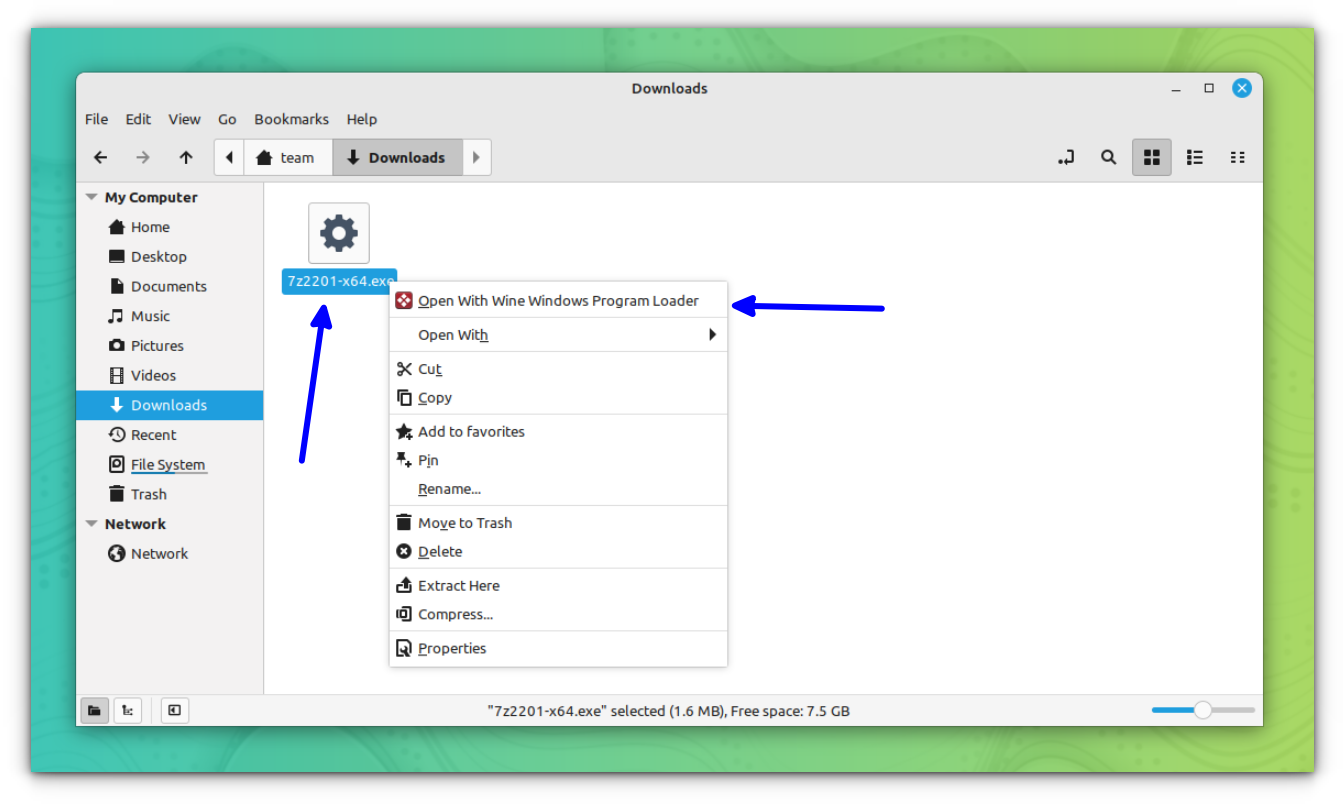
This will prompt us to install the file. Click Install and let it complete. Once done, you can open the 7zip like any other native app.
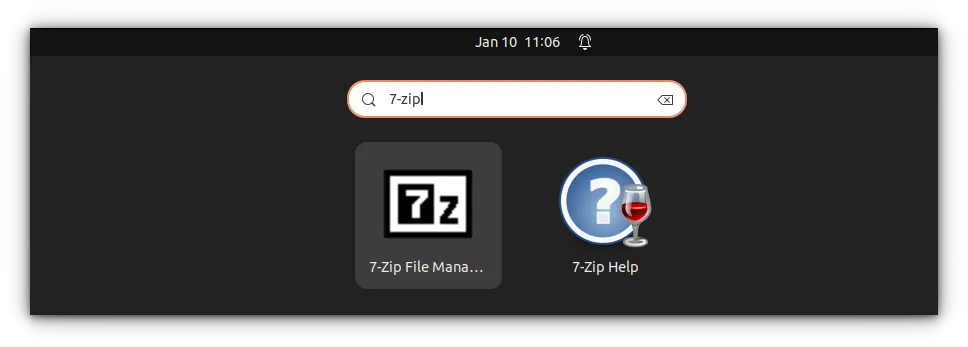
You can use wine uninstaller command to uninstall any installed application.
Here’s a dedicated tutorial on using Wine to run Windows software on Linux:

Remove Wine from Ubuntu
If you don’t find Wine interesting or if Wine doesn’t run the application you want properly, you may need to uninstall Wine. To do this, follow the below steps.
Remove Wine installed through the Ubuntu repository
To remove wine installed through repositories, first run:
sudo apt remove --purge wineUpdate your package information:
sudo apt updateNow, use the autoclean command to clear the local repository of retrieved package files that are virtually useless.
sudo apt-get autoclean
sudo apt-get clean
Remove those packages that are installed but no longer required using:
sudo apt autoremoveNow reboot the system.
Remove Wine installed through the Wine repository
Remove the installed wine-stable package.
sudo apt remove --purge wine-stableUpdate your package information:
sudo apt updateNow, use the autoclean and clean command to clear the local repository of retrieved package files that are virtually useless.
sudo apt-get autoclean
sudo apt-get clean
Now remove the sources file added earlier. Use your respective distribution folder. Here, Ubuntu 22.04 is used.
sudo rm /etc/apt/sources.list.d/winehq-jammy.sourcesOnce this is removed, update your system package information:
sudo apt updateOptionally, remove the key file you had added earlier if you want.
sudo rm /etc/apt/keyrings/winehq-archive.keyNow remove any residual files manually.
Still have questions about using Wine?
You may also go through our tutorial on using Wine. It should answer some more questions you might have.

There is no place better than the Wine Project website. They have a dedicated FAQ (frequently asked questions) page:
If you still have questions, you can browse through their wiki for detailed documentation or ask your doubts in their forum.
Alternatively, if you don’t mind spending some money, you can opt for CrossOver. It’s basically Wine but with premium support. You can also contact their team for your questions.

In my opinion, you should resort to Wine only when you cannot find an alternative to the software you must use. Even in that case, it’s not guaranteed to work with Wine.
And yet, Wine provides some hope for Windows migrants to Linux.


