Linux_Logo – Print Color ANSI Logos of Linux Distributions
linuxlogo or linux_logo is a tiny command line utility that generates a color ANSI picture of the Linux distribution logo with an uptime (shows system uptime) along with the other system information.
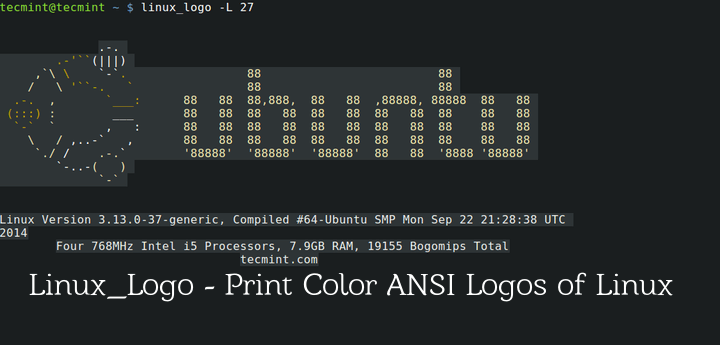
The linux_logo utility obtains system information from the /proc filesystem and generates ANSI images of various logos other than the host distribution logo.
The system information associated with the logo includes – the Linux Kernel Version, the Time when the Kernel was lastly Compiled, the Number/core of the processor, Speed, Manufacturer, and processor Generation. It also shows information about total physical RAM.
It is worth mentioning here that screenfetch and Neofetch are other tools of a similar kind, which show the distribution logo and more detailed and formatted system information.
linux_logo and Screenfetch should not be compared to each other. While the output of screenfetch is more formatted and detailed, linux_logo produce a maximum number of color ANSI diagram, and the option to format the output.
linux_logo is written primarily in C Programming Language, which displays the linux logo in an X Window System, and hence User Interface X11 aka X Window System should be installed. The software is released under GNU General Public License Version 2.0.
For the purpose of this article, we’re using the following testing environment to test the linux_logo utility.
Operating System : Debian Bullseye
Processor : i5 / x86_64
Installing Linux Logo Utility in Linux
1. The linuxlogo package is available to install from the default package repository under all Linux distributions using apt, yum, or dnf package manager as shown below.
$ sudo apt install linuxlogo         [On Debian, Ubuntu and Mint]
$ sudo yum install linux_logo        [On RHEL/CentOS/Fedora and Rocky/AlmaLinux]
$ sudo emerge -a sys-apps/linuxlogo  [On Gentoo Linux]
$ sudo apk add linuxlogo             [On Alpine Linux]
$ sudo pacman -S linuxlogo           [On Arch Linux]
$ sudo zypper install linuxlogo      [On OpenSUSE]
If the linuxlogo package isn’t available from the default repositories, then you need to build it from the source as shown.
$ git clone git://github.com/deater/linux_logo
$ cd linux_logo
$ ./configure
$ make
$ sudo make install
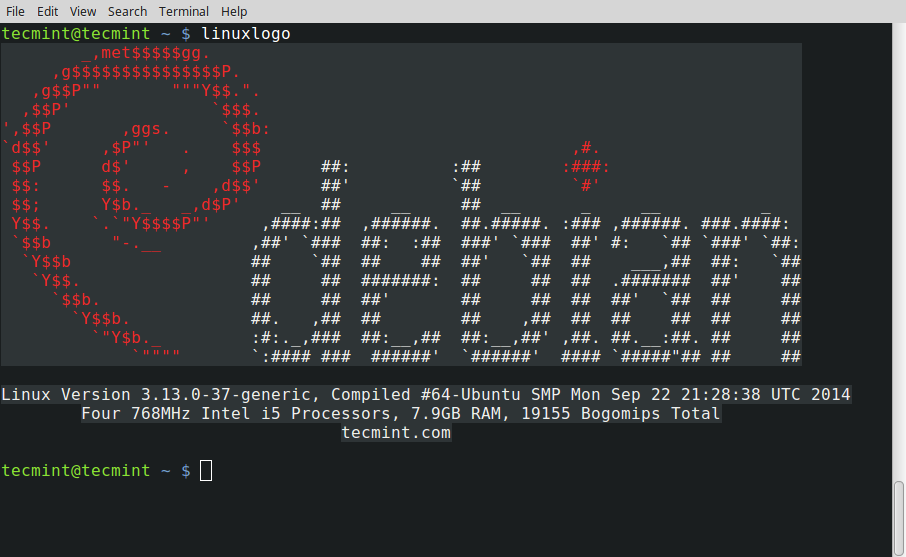
2. Once the linuxlogo package has been installed, you can run the command linuxlogo to get the default logo for the distribution you are using.
# linux_logo
OR
# linuxlogo
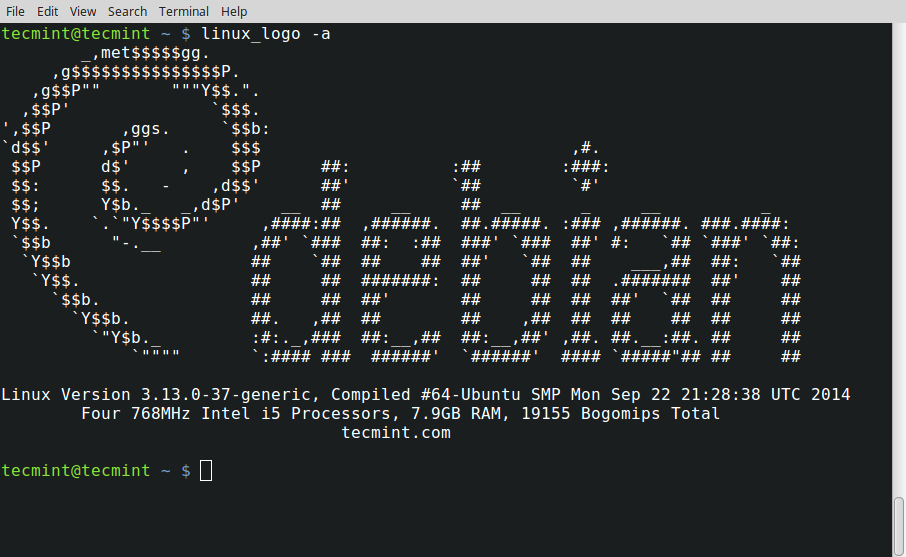
3. Use the option [-a], not to print any fancy color. Useful if viewing linux_logo over a black and white terminal.
# linux_logo -a
4. Use the option [-l] to print LOGO only and exclude all other System Information.
# linux_logo -l

5. The [-u] switch will display system uptime.
# linux_logo -u
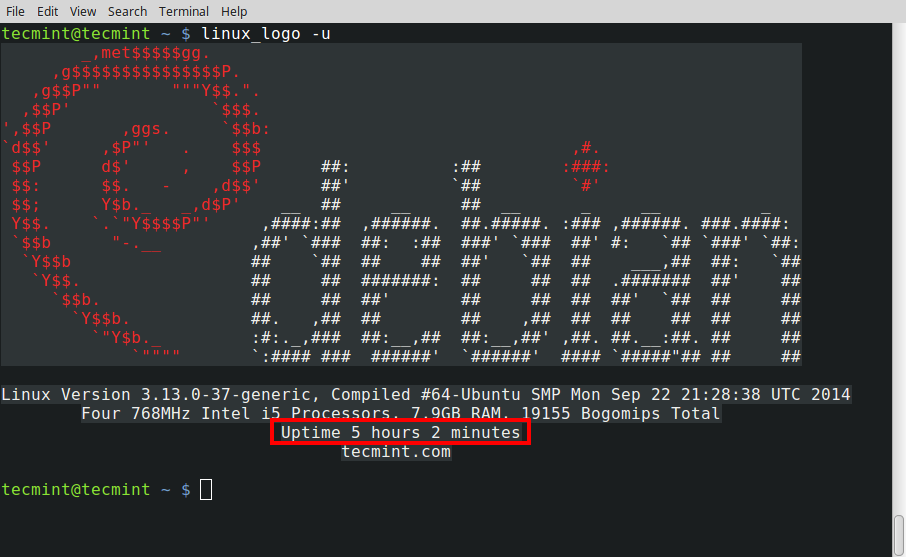
6. If you are interested in Load Average, use option [-y]. You may use more than one option at a time.
# linux_logo -y
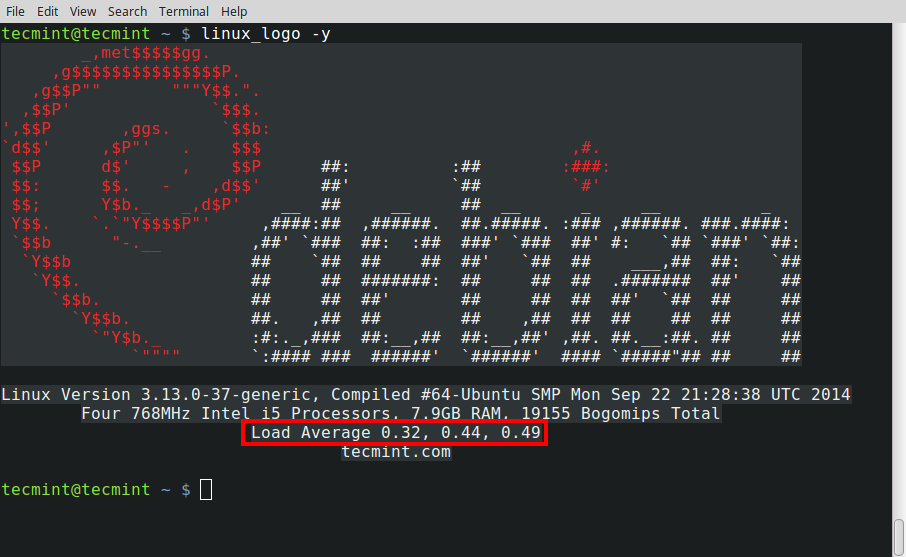
For more options and help on them, you may like to run.
# linux_logo -h
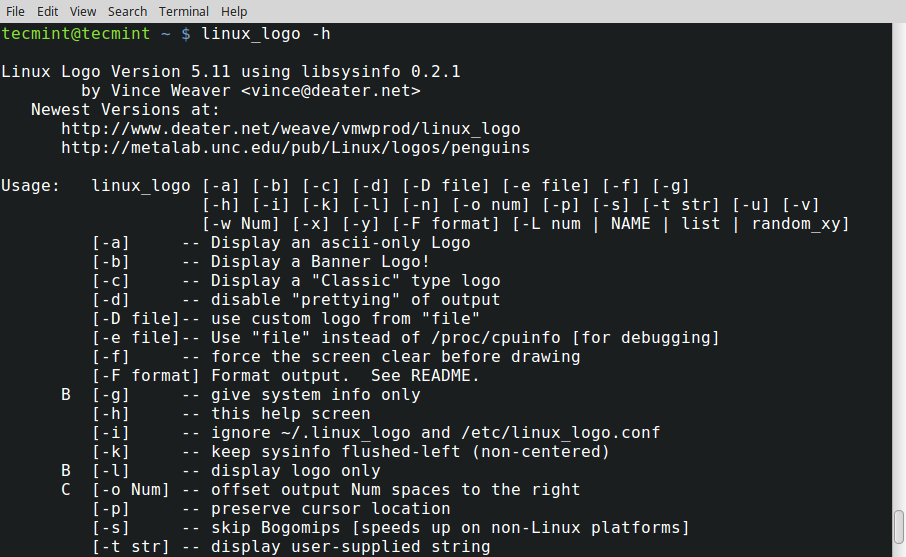
7. There are a lot of built-in Logos for various Linux distributions. You may see all those logos using the option -L list switch.
# linux_logo -L list
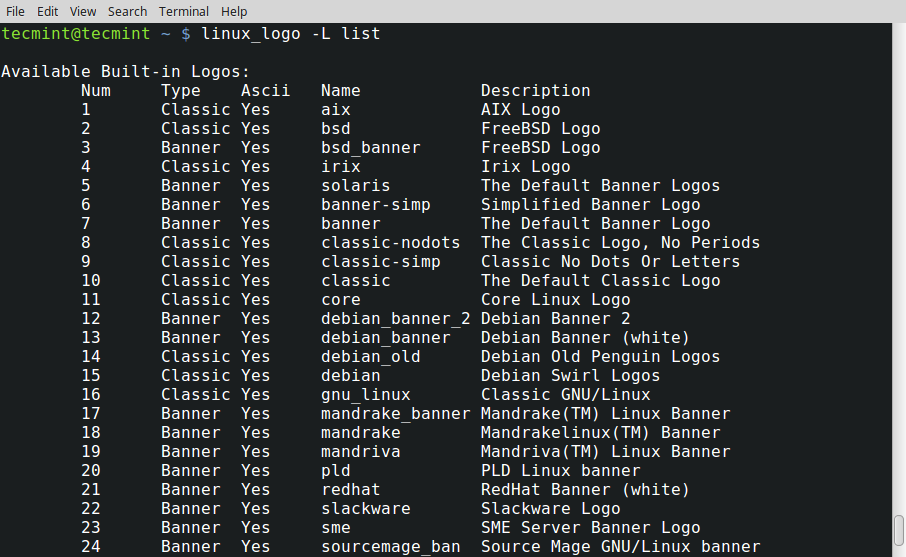
Now you want to print any of the logos from the list, you may use -L NUM or -L NAME to display the selected logo.
- -L NUM – will print a logo with the number NUM (deprecated).
- -L NAME – will print the logo with the name NAME.
For example, to display AIX Logo, you may use the command:
# linux_logo -L 1
OR
# linux_logo -L aix
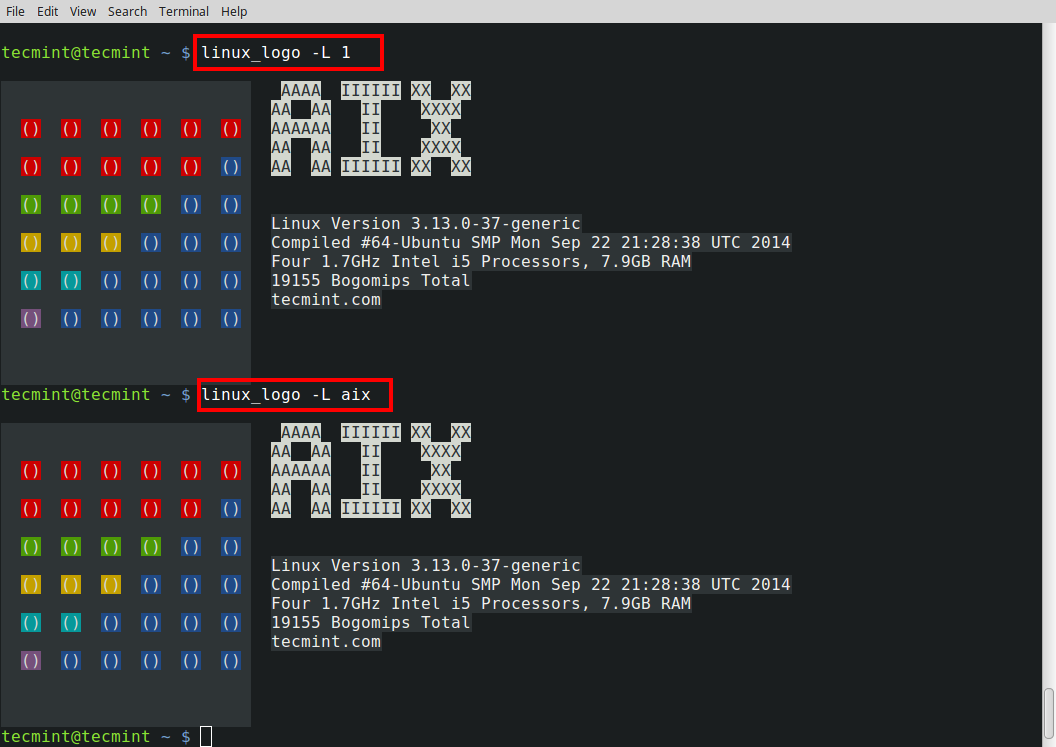
Notice: The -L 1 in the command where 1 is the number at which the AIX logo appears in the list, where -L aix is the name at which the AIX logo appears in the list.
Similarly, you may print any logo using these options, few examples to see.
# linux_logo -L 27
# linux_logo -L 21
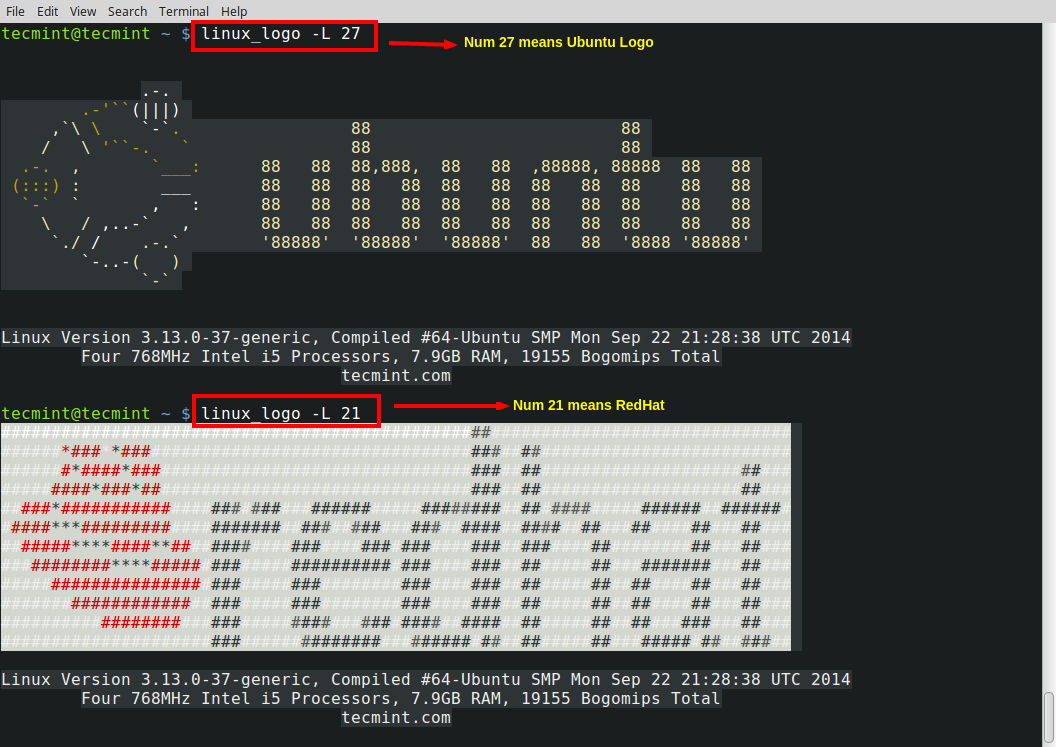
This way, you can use any of the logos just by using the number or name, that is against it.
Some Useful Tricks of Linux_logo
8. You may like to print your Linux distribution logo at login. To print the default logo at login you may add the below line at the end of ~/.bashrc the file.
if [ -f /usr/bin/linux_logo ]; then linux_logo; fi
Notice: If there aren’t any ~/.bashrc file, you may need to create one under the user home directory.
9. After adding the above line, just log out and re-login again to see the default logo of your Linux distribution.
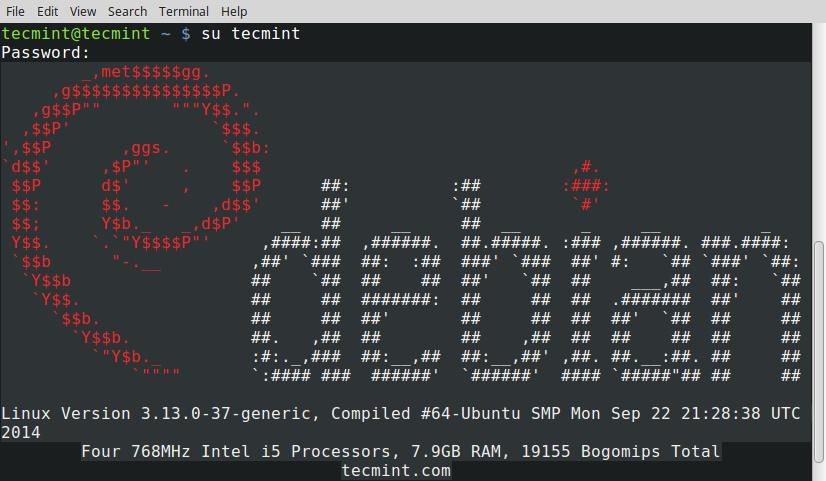
Also note, that you may print any logo, after login, simply by adding the below line.
if [ -f /usr/bin/linux_logo ]; then linux_logo -L num; fi
Important: Don’t forget to replace num with the number that is against the logo, you want to use.
10. You can also print your own logo by simply specifying the location of the logo as shown below.
# linux_logo -D /path/to/ASCII/logo
11. Print the logo on Network Login.
# /usr/local/bin/linux_logo > /etc/issue.net
You may like to use an ASCII logo if there is no support for color filled ANSI Logo as:
# /usr/local/bin/linux_logo -a > /etc/issue.net
12. Create a Penguin port – A set of ports to answer connection. To create a Penguin port Add the below line to the file /etc/services file.
penguin 4444/tcp penguin
Here ‘4444‘ is the port number that is currently free and not used by any resource. You may use a different port.
Also, add the below line to file /etc/inetd.conf file.
penguin stream tcp nowait root /usr/local/bin/linux_logo
Restart the service inetd as:
# killall -HUP inetd
Moreover, linux_logo can be used in bootup script to fool the attacker as well as you can play a prank with your friend. This is a nice tool and I might use it in some of my scripts to get output as per distribution basis.
Try it once and you won’t regret it. Let us know what you think of this utility and how it can be useful for you. Keep Connected! Keep Commenting. Like and share us and help us get spread.


