
How to Share Fedora Desktop Screen [GNOME] Remotely
At some point, you might need to share the Fedora desktop screen (GNOME) desktop with other users for one reason or the other. There are multiple remote desktop-sharing applications that can help you achieve this.
These include TeamViewer, AnyDesk, Remmina, and many others. These are all third-party applications that require installation.
Ever heard of the ‘screen-sharing’ feature? This is a built-in tool that allows you to seamlessly share your GNOME screen.
In this guide, we will demonstrate how you can share your GNOME Desktop screen in Fedora using the ‘screen-sharing’ feature.
The following steps have been tested on Fedora 36 and Fedora 37.
Enable GNOME Desktop Screen Sharing in Fedora
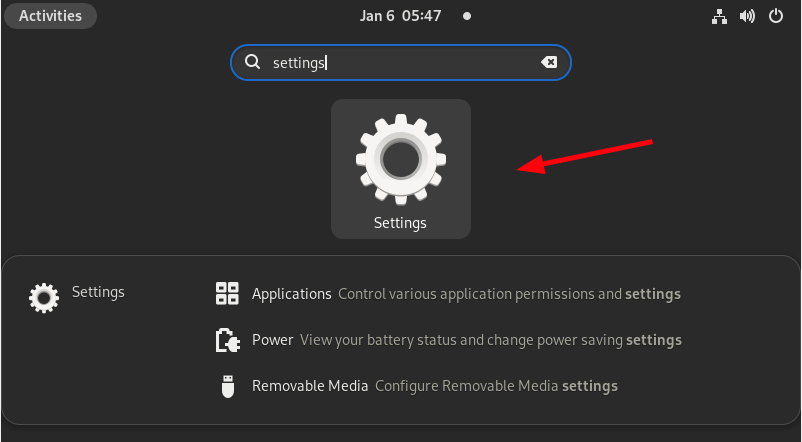
Sharing your desktop screen on Fedora is as easy as they come. To get started, head over to ‘Settings‘ on your system.
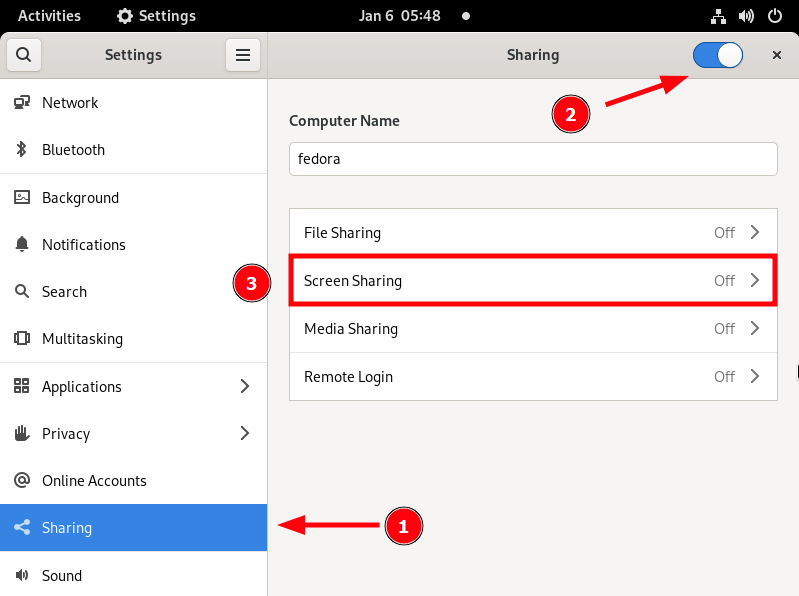
On the left sidebar, click ‘Sharing‘, then toggle on the sharing button. Then click ‘Screen Sharing‘ as shown below.
On the screen sharing pop-up that appears, turn on screen sharing and select ‘Require a password‘ to enable password authentication when a remote user connects. Next, provide your preferred password for authentication purposes.

To allow a remote user to control the screen, check off the ‘Allow connection to control the screen‘ option.

On Fedora, chances are that the Firewalld firewall is already enabled. Therefore, you need to go an extra step and allow VNC service through the firewall, which will allow inbound VNC traffic from remote users to initiate a connection to your desktop.
On the terminal, allow VNC service by running the following commands:
$ sudo firewall-cmd --add-service=vnc-server --permanent
$ sudo firewall-cmd --reload
Share Fedora Desktop Screen Remotely
There are many applications you can use to connect to the remote Fedora screen including TigerVNC and RealVNC. A much simpler way is to use the GNOME Connections application which you can install from the GNOME software store or on the command line.
If your remote system is Debian/Ubuntu or any of its derivatives, run the following command to install the GNOME Connections application using the apt command.
$ sudo apt install gnome-connections
For Fedora and RHEL and RHEL-based distributions, run:
$ sudo dnf install gnome-connections
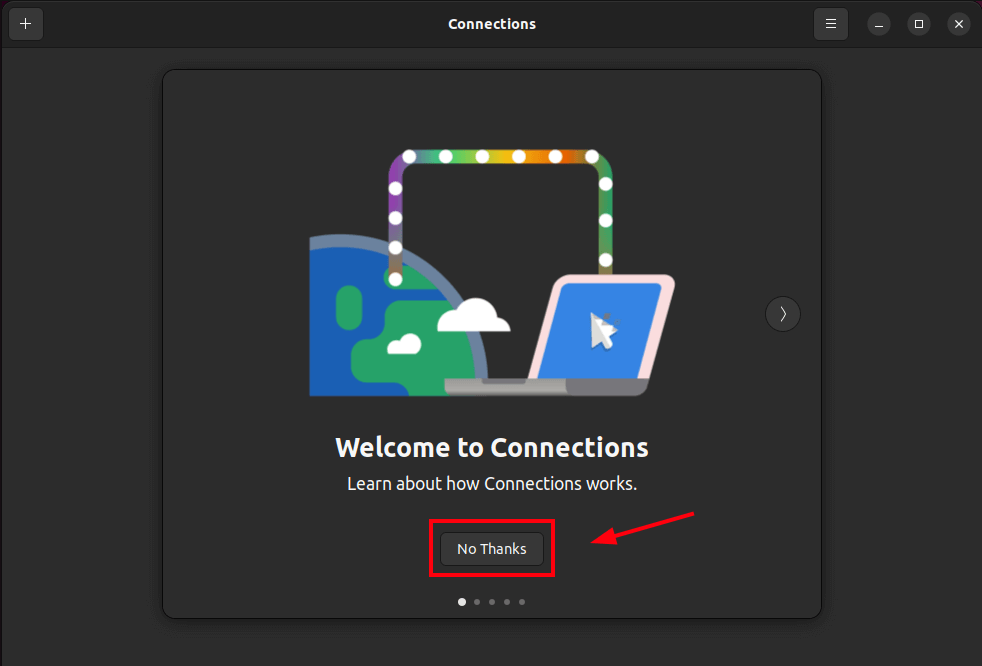
Once installed, launch the GNOME Connections application.

Once launched, GNOME connections provides a walkthrough of how to go about making remote connections. You can go over it or simply cancel to head straight to making the connection.
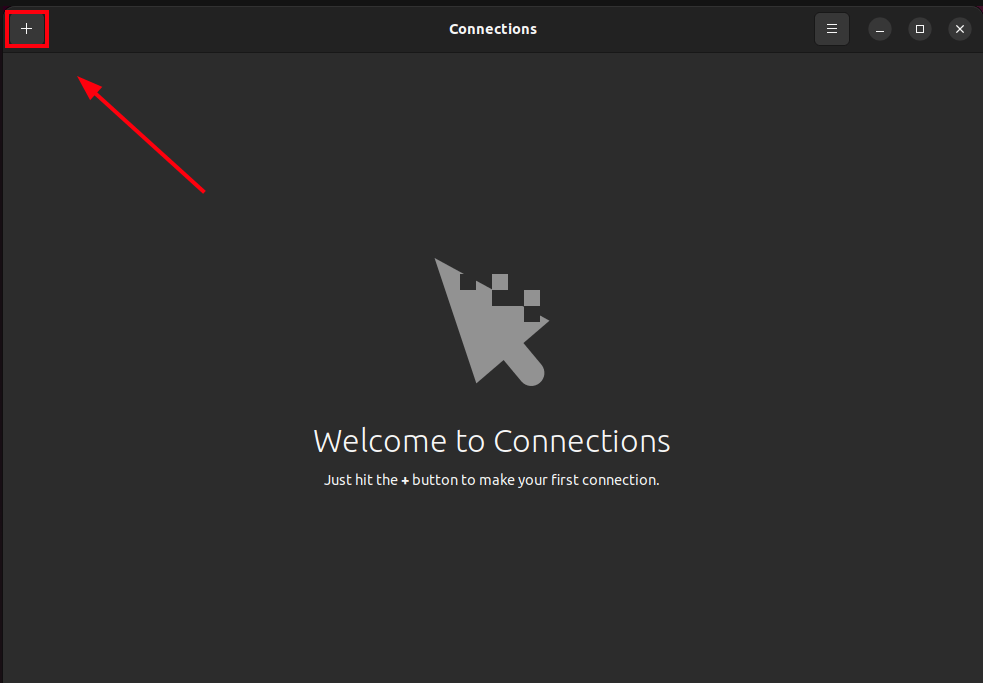
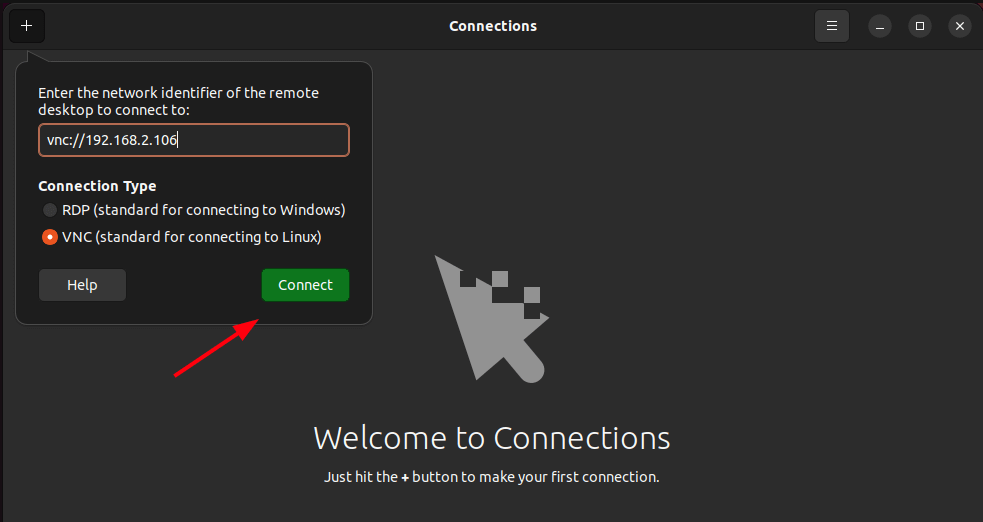
Click the plus [+] sign at the top left corner.
Type in the IP address of the remote Fedora system that we have just shared the screen in this format:
vnc://ip-address
Select the VNC option for connection and click ‘Connect‘.
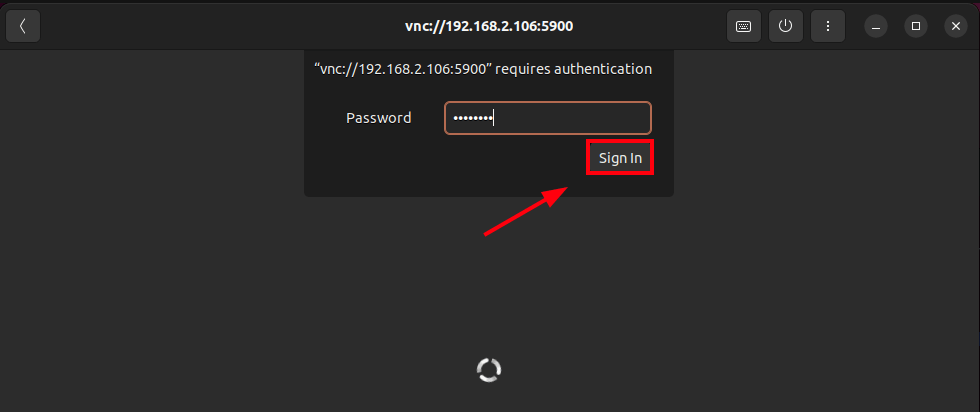
Next, authenticate using the password you specified when sharing the screen and click ‘Sign in‘.
Click ‘Allow‘ to allow inhibiting shortcuts.

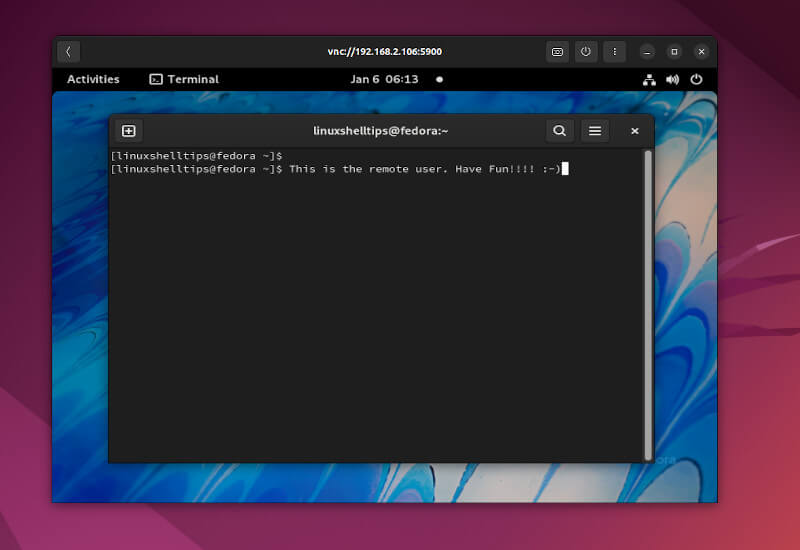
And thereafter, you will have access to your remote Fedora desktop.
That was a demonstration of how you can share your Fedora GNOME desktop with others on your network. Once you are done with sharing the desktop, you can turn off screen sharing in the settings section. That’s all for now. We hope you found this guide insightful.


